I'm still super neglectful BUT the video from Vanessa's Wagner House event is up and going! My previous post reviewed the Simplicity 8578 and talked about the party. :-) I'm still thankful for my friend taking the time to plan such a fun event. I know it was a lot of work but it is so appreciated!
18th Century Wagner House event
Thanks again for visiting my little corner of the world!
xoxo Madame Mimi
Showing posts with label JP Ryan. Show all posts
Showing posts with label JP Ryan. Show all posts
Wednesday, March 4, 2020

Monday, June 10, 2019
18th century sewing Tailor's Guide pattern revisited and other activities!
Oooooooooo I have been SO LAZY regarding this blog. However, I'm here now so I may as well post something. :-)
I'm not really in a rut but I have been on a slight break with my costume sewing. I also sew modern clothing and my summer wardrobe was looking pretty sad. So I set aside some time to make new tops. I still have some additional items to make but I started to get bored with modern clothing, as you do. It's always a challenge keeping myself focused on current projects. My mind starts to wander. Lately it's been wandering to the 18th century.
Tailor's Guide gown, again:
I have attended Vampire's Masquerade Ball for the last several years. It's in Portland, Oregon. This year they had a new venue! The Portland Art Museum. I decided to make a new 18th century gown because I totally need another......;-)
I dug out my Tailor's Guide 1750-1785 gown & short gown pattern. I have already reviewed this pattern in 2016. I have no clue about historical accuracy but it does make a lovely gown. Also I finally learned to make pretty and very silly five loop bows thanks to the American Duchess 18th century sewing book. So I took advantage of my new skill and put 5 of those puppies on my new creation.
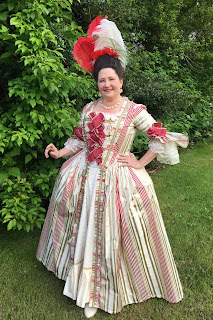
The dress went together without any problems. Sometimes it's nice to use a familiar pattern. I also didn't need to make a new petticoat. I used the same one I made for my first Tailor's Guide dress. Score! The candy cane striped silk has been in my stash for a couple years. I was down to scraps when I finished. It is so satisfying to use stash fabric and to be happy with the result.






I'm not really in a rut but I have been on a slight break with my costume sewing. I also sew modern clothing and my summer wardrobe was looking pretty sad. So I set aside some time to make new tops. I still have some additional items to make but I started to get bored with modern clothing, as you do. It's always a challenge keeping myself focused on current projects. My mind starts to wander. Lately it's been wandering to the 18th century.
Tailor's Guide gown, again:
I have attended Vampire's Masquerade Ball for the last several years. It's in Portland, Oregon. This year they had a new venue! The Portland Art Museum. I decided to make a new 18th century gown because I totally need another......;-)
I dug out my Tailor's Guide 1750-1785 gown & short gown pattern. I have already reviewed this pattern in 2016. I have no clue about historical accuracy but it does make a lovely gown. Also I finally learned to make pretty and very silly five loop bows thanks to the American Duchess 18th century sewing book. So I took advantage of my new skill and put 5 of those puppies on my new creation.
The dress went together without any problems. Sometimes it's nice to use a familiar pattern. I also didn't need to make a new petticoat. I used the same one I made for my first Tailor's Guide dress. Score! The candy cane striped silk has been in my stash for a couple years. I was down to scraps when I finished. It is so satisfying to use stash fabric and to be happy with the result.

I'm in love with my Dames a la Mode necklace and earrings! I decided on clear stones with a gold setting. That way I can wear other color earrings with the necklace. I am having an ongoing love affair with her Girandole earrings. They look so decadent. I felt "extra" fancy at VMB.

Me and Ms. T.

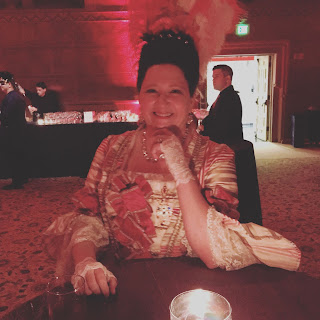
In the dark ballroom at VMB

I had my youngest take some decent photos of the new gown once I had finished it. I also did a dry run with my hair and feathers.


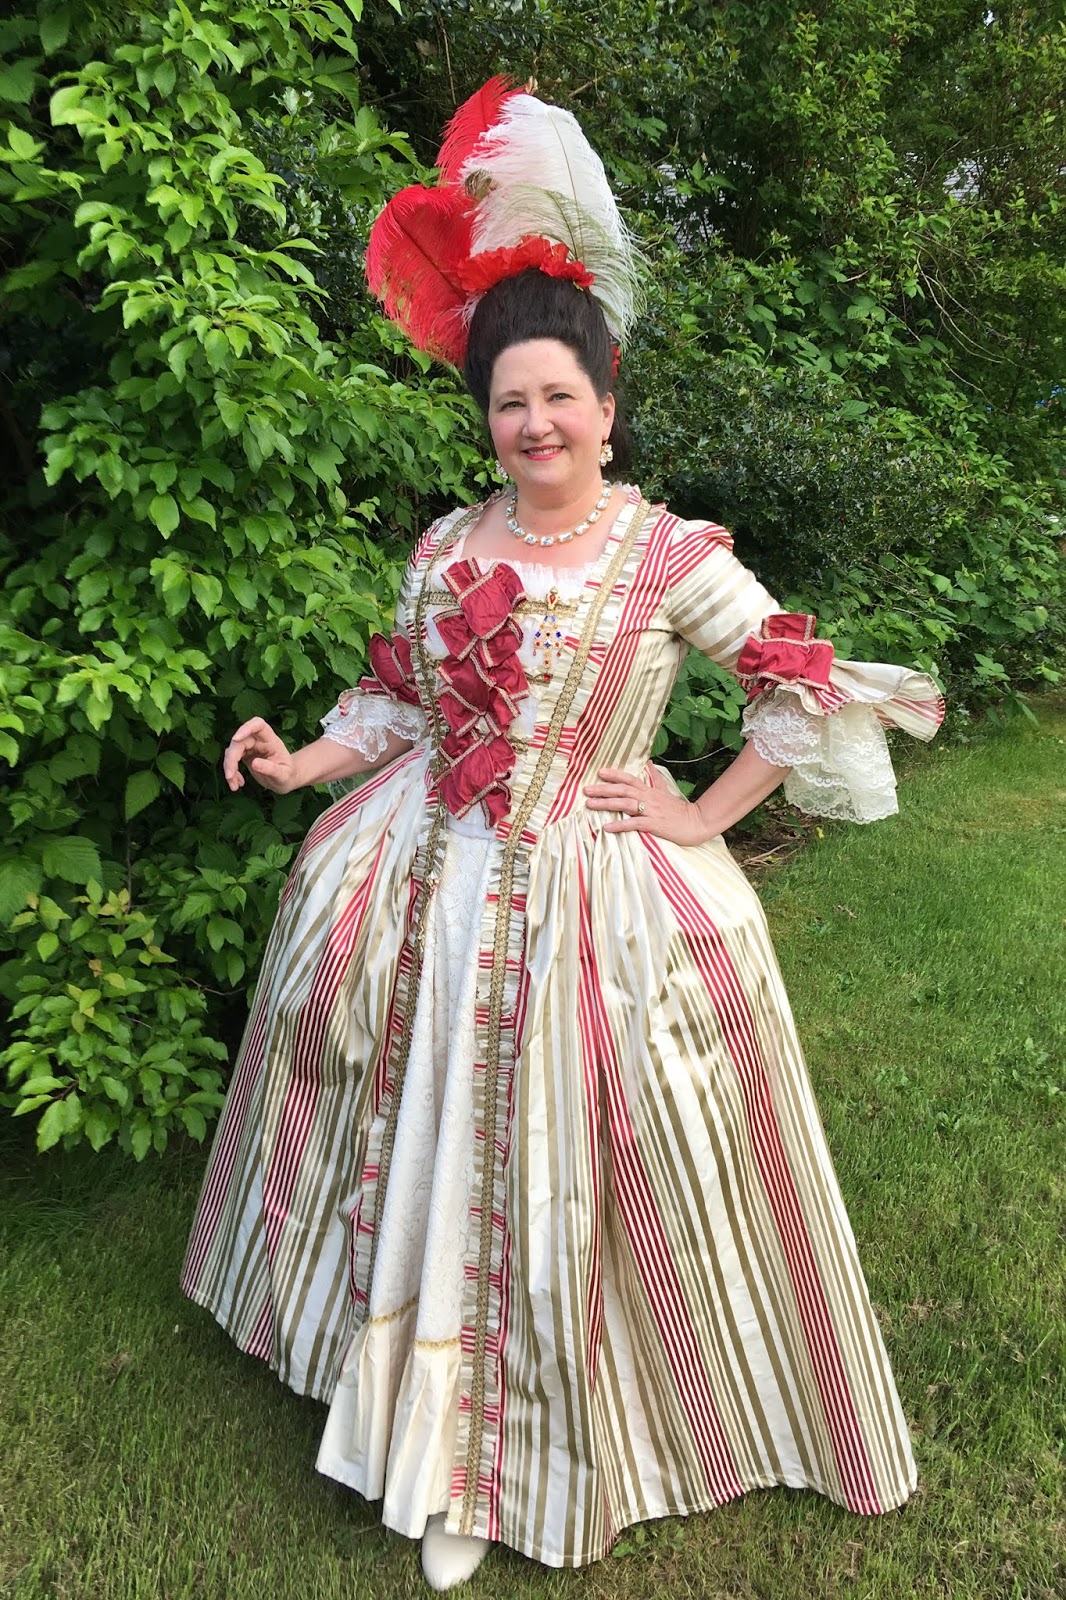
Feeling very queenly and super fancy!

I also purchased a "piety" brooch to wear from Queen and Cavendish on Etsy. It's quite lovely! I have a pair of earrings from her shop as well that I wore to the Outlander Ball in April.
A bit more 18th century:
JP Ryan English Nightgown redux.
I went back and re-trimmed my first 18th century silk gown I had made for Venice is Sinking back in 2016. I wanted something less flashy that could be worn during the day or evening. I LOVE the fabric I used for this dress. Chartreuse green! One of my favorite colors. It had a lot of gold metallic trim and sequins on it plus the skirt decorations were meh... I had only worn it the one time to VIS and it has been languishing in my closet ever since.
I pulled off all the gold trim, sequins and sad little skirt bows. I had a silk rem that was pink floral striped so I pinked narrow strips and stitched them on top of the existing pink silk trim. I also replaced the sleeve ruffles and added a bow to the bodice. I love the new look! Now I just need an excuse to wear it!

This would be for evening but I can easily add a fichu and cap for a more formal daywear look.


2016 on the left and 2019 on the right.
And last but not least it's time for a proud mama post!
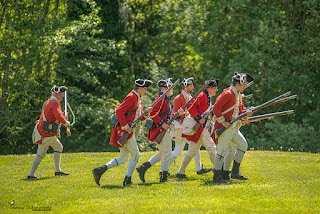
I am pleased to announce that my youngest is going to be participating in the Northwest Colonial Festival! He will be part of the Redcoat unit fighting against the Patriots during the battles of Lexington and Concord. The festival is August 8-11th at the George Washington Inn in Port Angeles, Washington.
There was a meet up last month in Port Gamble and my boy was happily accepted into the British army. At 14 he is old enough to discharge a weapon so of course he is thrilled!

Serious picture time.

Trying to pass muster.

Learning to properly discharge a weapon.

Proud mom!

Heading off to battle!
Saturday, August 12, 2017
Colonial Festival and JP Ryans Caraco jacket!
It's that time of year again! Colonial Festival in Port Angeles, Washington! You must understand that out here on the west coast we don't get a lot of Colonial action. So it's nice to have one event that embraces that time in our history. I don't know if I will ever get to Williamsburg so this makes a great learning and dress up opportunity.

I need more 18th century practical clothing. I thought about making another English Nightgown but I didn't want to deal with the pleating on the skirt part. I went through my stash and dug out JP Ryan's Caraco pattern.
Size and alterations:
What sucked is I ordered the wrong size and never noticed it until I finally got ready to use the pattern. It was one size smaller than I needed. I bought the 14-16 when I really needed an 18. But I knew I was going to muslin it so if it wouldn't work then I would find another pattern. I whipped up a quick muslin and decided to add an inch to each front edge of the stomacher. I also carved out a bit on the front of the arm opening since they were pretty tight. I removed about an inch of the back length from neck to waist. It feels a bit short so I will not be so aggressive with my next one. For reference my back of neck to waist is 15.5 inches.
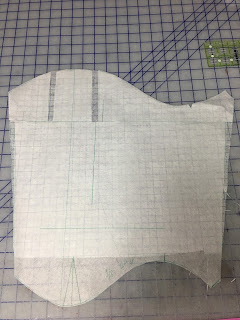
The other thing that runs tight is the sleeves. I have average middle aged lady arms and they were snug. I did decide to try a different sleeve altering method just for fun. If you don't have Joi Mahon's Create the Perfect Fit book I highly recommend you buy it. She goes above and beyond the most common fitting methods. After creating my sleeve muslin I noted that the only room I needed was in the upper part of the sleeve and cap.
So I did this:


The George Washington Inn, Port Angeles, WA
I need more 18th century practical clothing. I thought about making another English Nightgown but I didn't want to deal with the pleating on the skirt part. I went through my stash and dug out JP Ryan's Caraco pattern.
Size and alterations:
What sucked is I ordered the wrong size and never noticed it until I finally got ready to use the pattern. It was one size smaller than I needed. I bought the 14-16 when I really needed an 18. But I knew I was going to muslin it so if it wouldn't work then I would find another pattern. I whipped up a quick muslin and decided to add an inch to each front edge of the stomacher. I also carved out a bit on the front of the arm opening since they were pretty tight. I removed about an inch of the back length from neck to waist. It feels a bit short so I will not be so aggressive with my next one. For reference my back of neck to waist is 15.5 inches.
The other thing that runs tight is the sleeves. I have average middle aged lady arms and they were snug. I did decide to try a different sleeve altering method just for fun. If you don't have Joi Mahon's Create the Perfect Fit book I highly recommend you buy it. She goes above and beyond the most common fitting methods. After creating my sleeve muslin I noted that the only room I needed was in the upper part of the sleeve and cap.
So I did this:

This gave me the extra room needed in both the sleeve cap and it added a bit of extra room along the length of the sleeve. I'm pretty damn happy with it! I didn't have any issues easing the sleeve into the arm opening either. Joi's book is pretty involved but it really breaks down all the fitting and makes it easier to understand. Instead of just throwing a full bust adjustment or full arm adjustment etc etc at everything as a fix all. Just like one size doesn't fit all, one alteration doesn't fit all either.
Fabric and construction:
I bought this decor weight cotton from Fashionable Frolic on Etsy. It was nice to work with and make for a sturdy but comfortable jacket.
The pattern instructions didn't give me any issues. My only warning is be careful when pressing the center back seam open. It's cut on the bias and gets stretched easily. I wasn't careful so I have a bit of a pucker along my CB seam. Once I had the gown put together I finalized my fitting of the stomacher and sewed on my hooks and bars. The pattern wants you to sew hooks and eyes and have the two front edges butting together. I no no like that. So I decided to use hooks and bars and have a 1/4 inch overlap on the front edge. Because of the overlap I only used a single length of boning on the hook side of my stomacher.
I highly recommend this pattern! I most certainly will make another in the future.
I didn't take a lot of pictures but The Countess is always happy to indulge my need for blogging my sewing experiences.

Eve reaching for the apple.....Actually not an apple but that was my first thought.

The polonaise effect with ribbon and buttons.

Looking like a proper 18th century matron.

The British are coming!!! Naw...it must have been time for tea and pastries.

Lovely ladies, The Countess and Lady J.

The Countess wearing her smashing ensemble! I was quite covetous of her very dramatic winged cuffs and quilted petticoat, that HUSSY! ;-)

Up close! And yes, it is a quilted coverlet made into an 18th century petticoat.

Our dainty tea! We visited with our old friend Dr. Franklin; as well as Martha and George Washington. It was a very enjoyable day

Oops! I almost forgot! Here is my bum pad that I am wearing under my gown. It is from the Simplicity/American Duchess cosplay patterns. The fabric is completely historically accurate and by historically accurate I mean Daisy Kingdom cotton circa 1994. Daisy Kingdom in the 1980s-90s via Simplicity had a coordinating fabrics/patterns thing going on. There were two color ways for this particular fabric. YES! Yes, I have both color ways. It's freaking crazy quilt pre printed fabric! I love a good crazy quilt, even a faux one.
Thursday, January 28, 2016
JP Ryan English Nightgown AKA Robe à l'Anglaise in silk. FINALLY DONE!!!
Did you hear the Angels of heaven singing today. No, no you didn't. That was just me because I finally finished my dress!
This is the second time I have made JP Ryan's English Nightgown. I love and adore this pattern and dress style. I cannot recommend it enough.
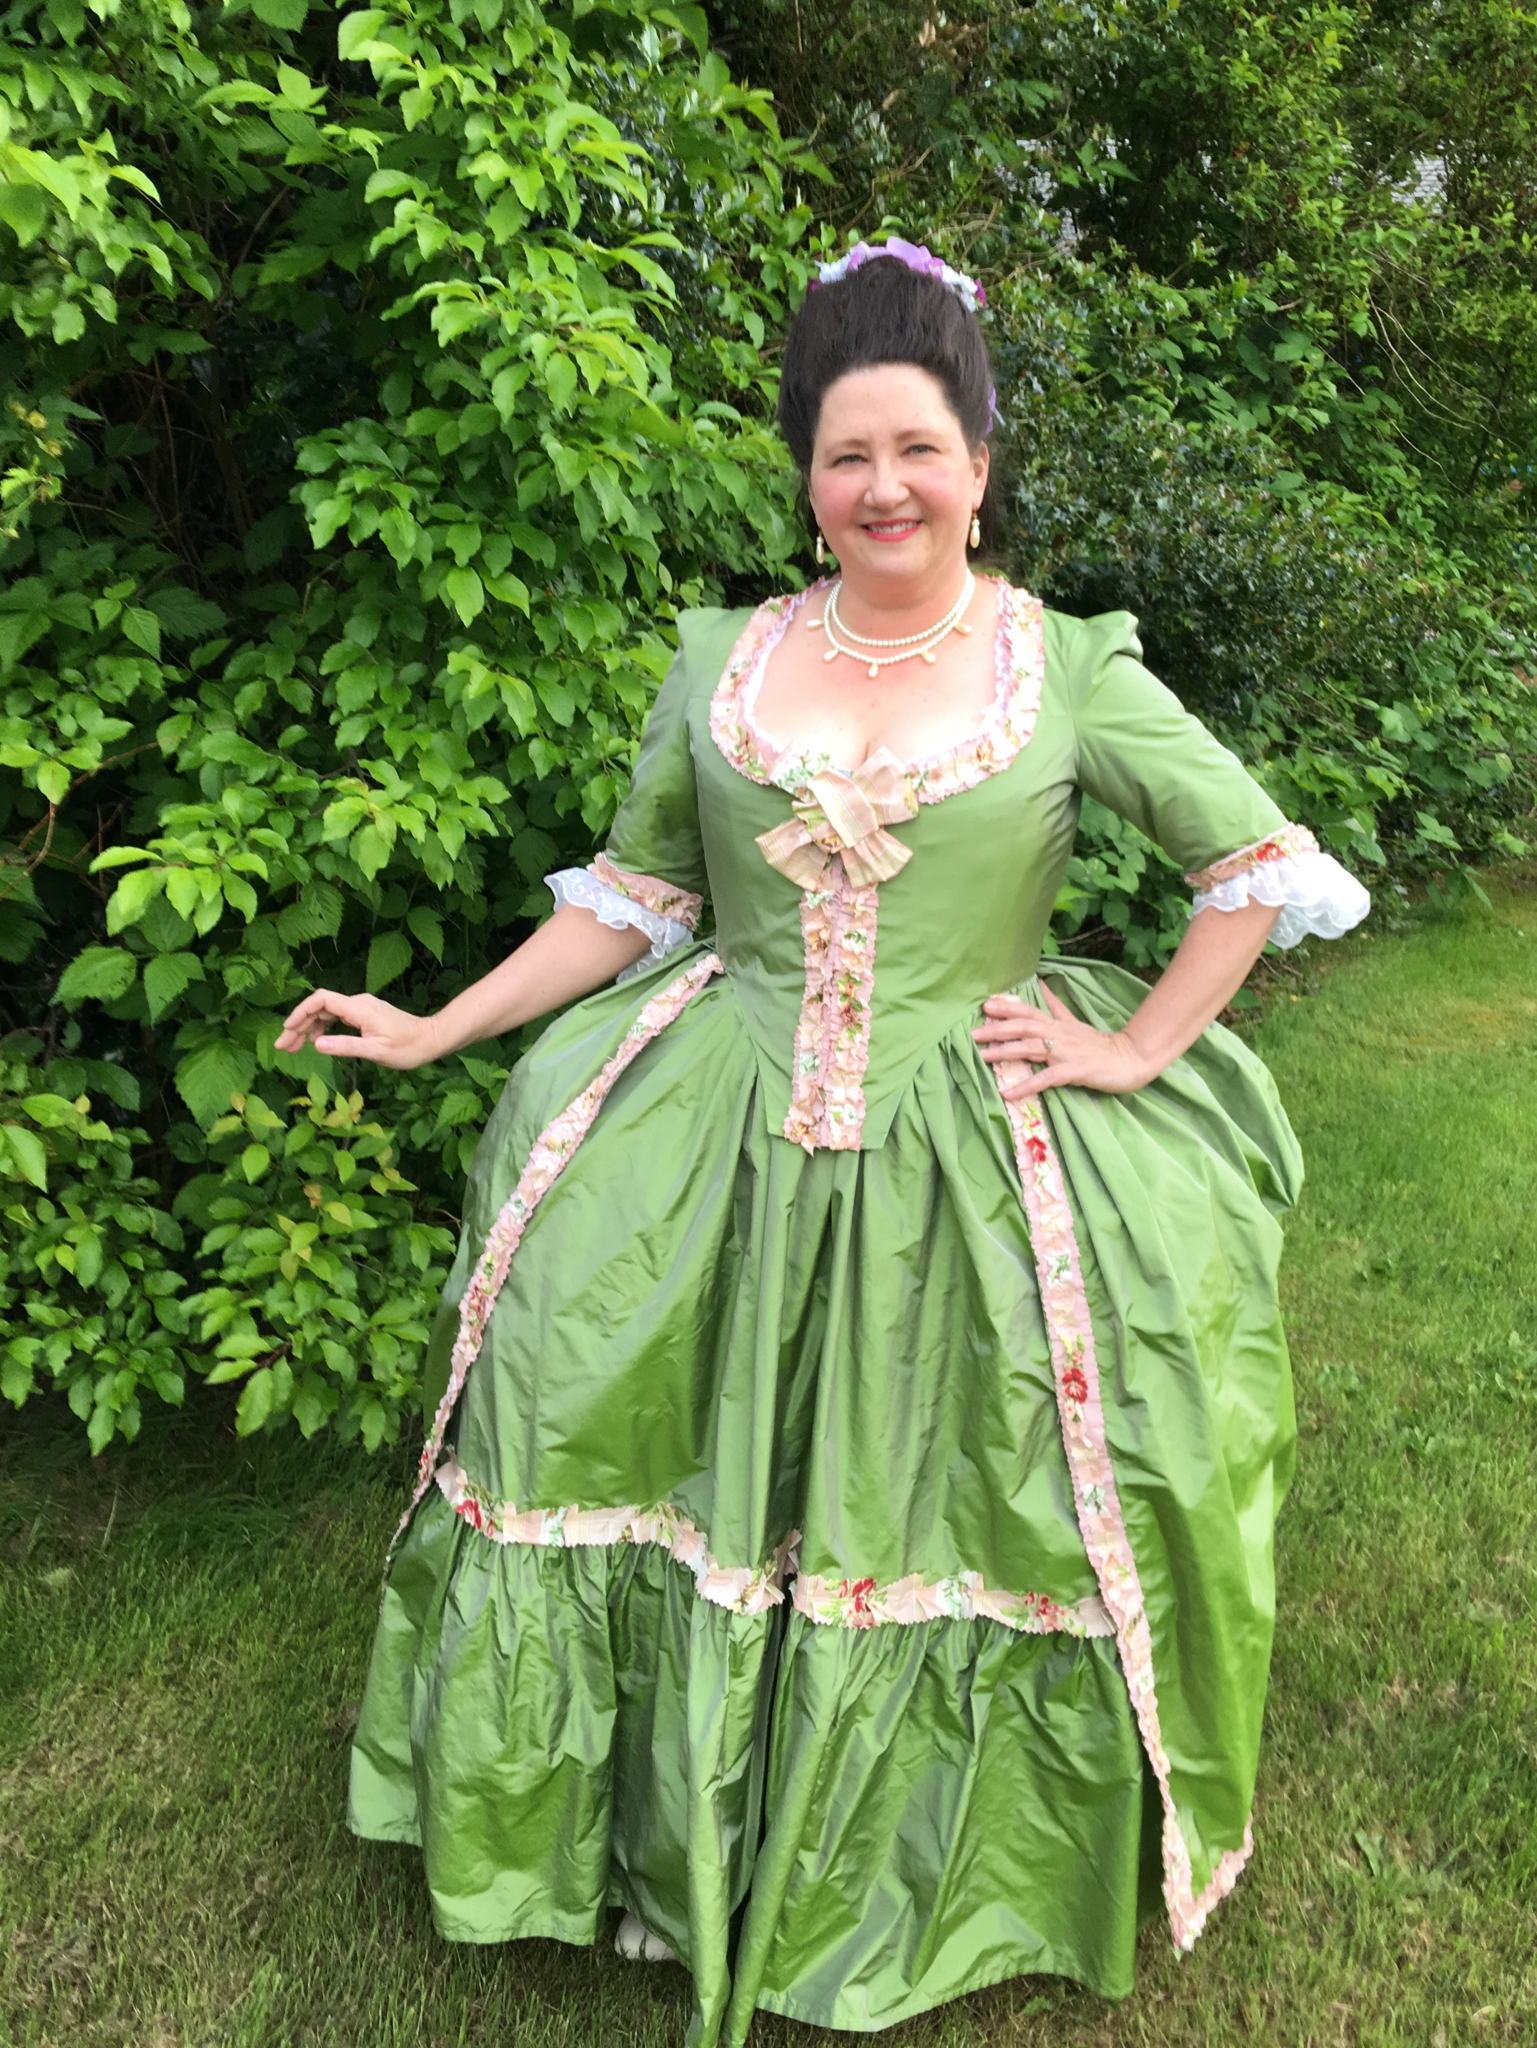
Now if you read my last post you know that I screwed the pooch on my sacque back gown. I was making it for a ball next month. I decided to shop from my stash for my replacement gown. I pulled out my lovely chartreuse silk taffeta I was hoarding for another project and used it for my English Nightgown. I like the way it turned out and I am very very pleased with the color combination.
I make the easy non pleated back version. The gown goes together quickly, it is just the trimming that takes some time. The only adjustment I had made to this pattern was to bring up the shoulder a bit. They are always too long on me. I won't do a full on review because I already have done. So here are some pictures!
 First version on the left and re-trimmed version on the right


This is the second time I have made JP Ryan's English Nightgown. I love and adore this pattern and dress style. I cannot recommend it enough.
Now if you read my last post you know that I screwed the pooch on my sacque back gown. I was making it for a ball next month. I decided to shop from my stash for my replacement gown. I pulled out my lovely chartreuse silk taffeta I was hoarding for another project and used it for my English Nightgown. I like the way it turned out and I am very very pleased with the color combination.
I make the easy non pleated back version. The gown goes together quickly, it is just the trimming that takes some time. The only adjustment I had made to this pattern was to bring up the shoulder a bit. They are always too long on me. I won't do a full on review because I already have done. So here are some pictures!
Pictures updated 2020




Monday, January 18, 2016
When you "screw the pooch" AKA the making of a wadder
Sigh.... I hate admitting mistakes. Especially when they have cost me good fabric, and my pride. But when you read a lot of blogs sometimes it seems like no one else makes wadders (taking the thing you made and wadding it up to toss out) or burn it, burn it baby!!!
There is a fantastic Venetian ball next month that I will be attending. I decided to make the gown of my dreams. The gown I have fantasized about since seeing Dangerous Liaisons in the movie theater circa 1988. I fell in love with the costumes and also with John Malkovich as Valmont. He was such a bastard, but I was completely captivated. What can I say, sometimes the bad guys are...well....you know...


There is a fantastic Venetian ball next month that I will be attending. I decided to make the gown of my dreams. The gown I have fantasized about since seeing Dangerous Liaisons in the movie theater circa 1988. I fell in love with the costumes and also with John Malkovich as Valmont. He was such a bastard, but I was completely captivated. What can I say, sometimes the bad guys are...well....you know...
The dream gown is this:

The Robe a' la' Francaise. I mean, who doesn't love this gown!
My initial planning had me making a black and gold brocade Francaise. The skirt and stomacher were going to be the gold and black brocade and the gown black silk taffeta.
Side note: My husband will be wearing a blush pink and gold brocade 18th century suit. I have it all made up for him and he is thrilled. Yes, the pink was his idea. He thought it would be nice if I wore pink too. Now, I am not much of a pink girl but there are a few shades I like. Blush pink being one of them. So the black and gold were shuttled away for now, and I happily went shopping for the right shade of pink. Found some beautiful taffeta online and made my purchase. Ooooooo I was so excited!
Once I had all my ducks in a row. Fabric ready, pattern cut (JP Ryan pattern), machine oiled. Time for fitting the under bodice. The outer gown attaches to a fitted under bodice. So that is your starting point. I made a couple muslins and really felt like I had the under bodice fitted very well.

The under bodice
The entire gown is meant to go over this. It will be attached around the neckline and down the front near the seams on the under bodice. Then a stomacher covers the lacing panels. The stomacher could be the same color as the gown or a contrasting fabric. Once it all comes together you have this lovely graceful gorgeous gown....

A few things went wrong. The first being I don't make a whole lot of 18th century gowns. The second was this particular gown was a bit more challenging in regards to fitting. Beyond my abilities.
On the plus side I put the whole gown together. No problem. The instructions were easy and the back pleating super easy. No issue with the pattern. But when I went to attach that gown to the under bodice it looked like a nightmare. The neckline was perfect, no issue there. But the body of the gown in the front was horrid. Drag lines everywhere. I followed the instructions and smoothed and pinned and smoothed and pinned some more. No Bueno. I even tried pinning the fitting lines on the back first, to see if I was just getting extra fabric spillage on the front. Nope. Actually the back looked great when I had it all pinned. I feel like the front of the gown bodice was too long and too wide for the under bodice. I had made one minor adjustment to the under bodice during fitting and I had made sure to copy it over to the gown pattern as well. I SHOULD have made a muslin of the gown too. Sigh...Nothing in the directions say to do this. Only to muslin the under bodice and copy over the changes to the gown also. ALL that beautiful pink fabric gone gone gone!! The fabric budget gone gone gone!!! Argggghhhhhhhhh!!

At some point this is all you can do. No I did not wad up the dress and toss it. It is laying to the side for now. I don't know that it can be salvaged. But I still need a dress for February. So I picked up all my shattered Dangerous Liaisons dreams and dug out my JP Ryan Robe a'l' Anglaise pattern. A tried and true. I made one in linen last year. Then off to my stash. I have some lovely chartreuse silk taffeta that I had purchased for a Belle Epoque dress project. Well, there was my gown and petticoat. Plus I have loads of blush pink scraps and selvedges for trimming the new gown. Green and pink are a nice 18th century color combo. I will be adding gold accents as well. This way husband and I will at least look somewhat similar at the ball.

Here is the new gown! The floral part is an under petticoat, so it will not be seen. The skirt of the dress will be the same green as the gown.
Before I sign off I have a few notes on the JP Ryan pattern:
1. Muslin the under bodice and the gown. At least the top part of the gown.
2. If it is your first Francaise maybe make the short version.
3. The sleeves are tight. Unless you have very thin arms make a muslin of these as well.
4. The construction of the dress IS NOT hard. Even the back pleats. But it is time consuming.
5. I honestly think a lot of people will need a fitting buddy for this dress. This is a hard style to fit on oneself.
6. Mark all your pleats clearly. I used a Frixon pen for mine. Be warned, Frixon pens will ghost on silk even after you have ironed the marks off. But I don't worry when the marks are buried into a pleat. Also the marks will completely come back if you are below freezing temp. FYI and the more you know.
Subscribe to:
Posts (Atom)