Showing posts with label Victorian Dress. Show all posts

Thursday, June 8, 2017

Truly Victorian TV456 1850s gathered front day dress

Well, it's about time I reviewed this pattern. I haven't felt much like blogging lately. My sweet little MinPin Havoc passed away at the end of April and I am still very sad. Some days I feel ok and then I get hit with a wave of sadness in my heart. I know in time it will get easier to deal with. He really was my special little friend and I miss him so.

Fort Nisqually was putting on a Queen Victoria's birthday celebration on May 20th. I decided it was time to make an icky green dress for the event. I do not possess a cage crinoline and really don't want to make one. I decided on TV456 because I figured I could get away with no crinoline and just use corded petticoats and a cheater net crinoline.

Pattern:
1856 dress for day or evening. Fan front gathers, dropped shoulder full pleated skirt. I used my normal TV size  G back and I front. I had 10 yards of this ick green cotton that I bought for a bustle dress but that never happened. When cotton is on a flash sale and it's 2.99 a yard you get 10 yards. Am I right or what!!

Alterations:
Anything after Regency and before the bustle are a mystery for me in regards to fitting. That dropped shoulder... I did my standard alterations, 1/2 inch tuck in the upper back, let darts out 1/4 inch, shortened the upper bodice length 1.75 inches. Normally I shorten TV skirts by about 2 inches. With dropped shoulder patterns I normally take about 1 inch off the shoulder area.

Construction:
Fairly straight forward. I didn't have any issues. The bodice gathering is fussy but I expected that. The skirt is pleated and easy to do. I sewed my skirt to the bodice but if I make it again I will just make it into a separate skirt.

Final thoughts:
It makes a very pretty dress. This would be fantastic in taffeta. I managed to not need a hoop but the dress would look much better with one. Both center back pattern pieces are labeled as lining. One is the lining the other is the fashion fabric. The gathering on the center back piece is pretty minuscule. If I make this dress again I will not bother with the gathering and just use the lining piece.

As usual the Countess and I had a good time at Fort Nisqually.

 Such a demure lady...


 My partner in crime The Countess

 Oooooooo someone is playing with Lucifers (matches)

 Staring longingly at the marble bust of husband number 4. For some reason my husbands keep falling down the stairs and dying. I'm now on the lookout for husband number 5.

 The dining room


 The parlor.

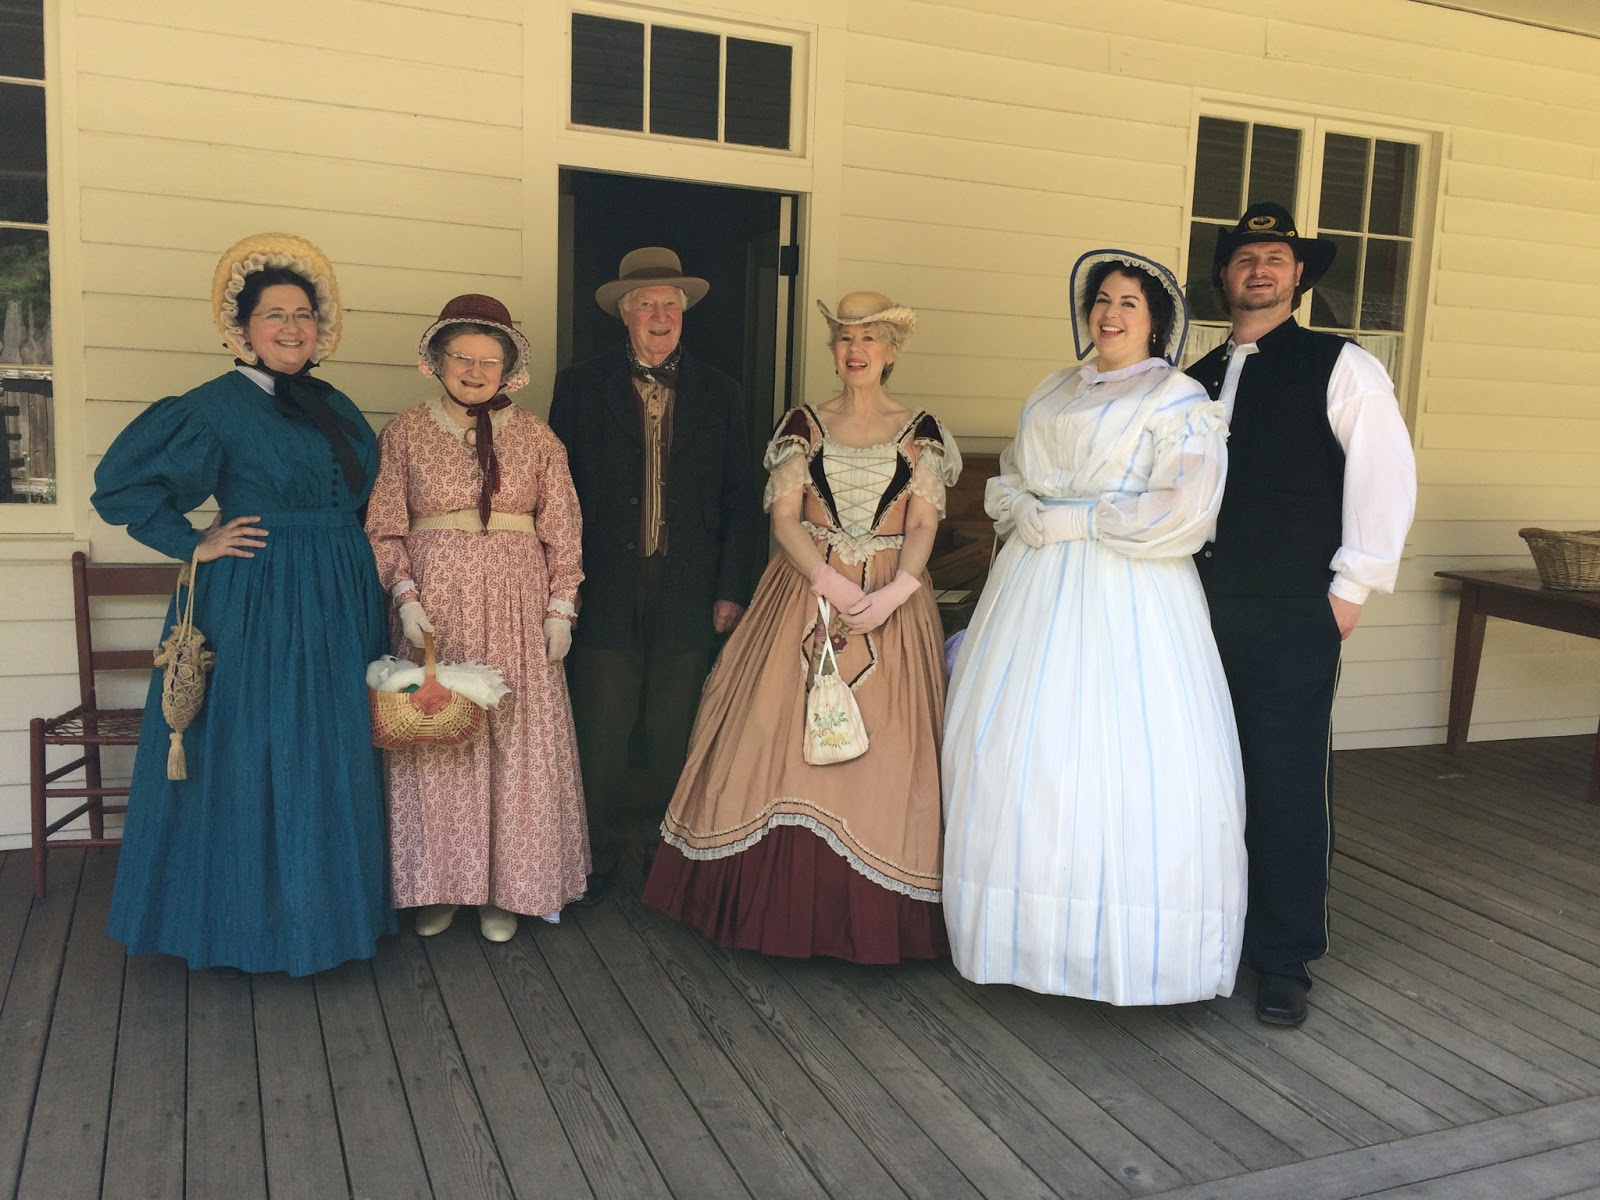
 Some of the historical re-enactors.


 Havoc the rescue MinPin. From ??? to April 2017
You are missed.

RIP my Havoc aka SweetBabyLuvMuffins. You were my doggie soul mate and I will see you again someday.

Saturday, December 24, 2016

Laughing Moon 114 1840s-1850s Victorian round dress

Pardon any typos etc.... It is Christmas Eve and I have been hitting the hard cider. Quite possibly one of the most sneak up on you drunks ever, aside from Long Island ice tea. Nothing goes better together than drinking and blogging. Because, fun.

I had arranged a costume meet up at Fort Nisqually for their annual Christmas celebration. What a great excuse to finally make Laughing Moon #114! December is a very busy month for most people so it was just myself and the Countess representing SITU. Father Christmas was making an appearance at the fort as well and I am happy to say he is a personal friend of mine too. So needless to say the Countess and I were on our best behavior. (yeah right)

The pattern:

Victorian dress 1840-1852. Several bodice and sleeve styles. Skirt is gauged. I made view A with mancherons (small upper sleeve) over the bell sleeve.

Fabric:

Plaid silk voile. I believe I bought this from Fabric Mart during one of their big sales. I don't think that silk voile existed in the 1840s-50s but I am not aiming for 100% historical accuracy. Silk voile is a really wonderful fabric to work with. It has a crisper drape than cotton voile and a lovely smooth hand.

Size & alterations:

I go back and forth on LM patterns with sizing. In a corset my bust is between 42-43 inches. I have found with their Victorian styles a size 20 is a nice fit from my apex upwards. Now in Regency stays my bust is a very perky 44 inches. So I use a size 22.

Once I made the muslin I decided to make the darts smaller to add a bit more ease room across my waist and fullest part of my bust. I removed 1.5 inches from the dropped shoulder seam. This is consistent on any dress pattern with a dropped shoulder. Where I kind of screwed up was the bodice length. I made it shorter than I wanted. I was aiming for the 840s longer bodice but became over zealous and it seems more 1850s. But that's ok. I really like this dress anyway. The neckline on my muslin was too tight so I removed 1/2 an inch. I also did this with my LM wrapper. All in all the alterations were minimal.

Construction:

No issues. None. Went together a charm. The neckline, armholes and waist have piping. I really, really love to make and apply piping. Hard to believe since I hate fiddly bits on projects. Piping looks so pretty, especially in a stripe or plaid. The skirt is gauged and hand stitched on. Not my favorite thing to do. However, this time it went much better and faster than my first gauged skirt. The sleeves fit beautifully too.

End notes:

Your sleeves are bias cut, don't let them stretch out. Watch your fit in the hip area. That is how my bodice wound up shorter than I wanted. The sides were hitting on my hips in the wrong spot and made the piping go wonky. I had to rip it all out and trim off the excess from the arc that curves over the hip. And in doing so trimmed too much from the front bodice. Always leave ease room for the skirt bulk, boning, petticoats.

The Fort Nisqually event was a lot of fun. I love it when the Countess goes on adventures with me because it's always a good time.

 Feeling very festive in my holiday dress!

 Some guy crashes my picture.

 Back view. Yep, drink in all that sexy.

 The lovely Countess in her festive plaid!

Bonnet selfie!

Me and Father Christmas! Plus my errant falling down bastard under sleeve. Oh well...

Have a wonderful holiday season! Even if it is not perfect (kind of like my under sleeve situation) enjoy it anyways!  There will be plenty more blogging and sewing in 2017!  


Sunday, December 11, 2016

1850s 1860s Isabella's Work Dress by Timeless Calico Designs

There was an upcoming Dickens Festival in Tacoma, Washington. For fun I decided to challenge myself to make a dress in a week. Because crazy. I bought this particular pattern early in 2016. It was designed for re-enactors to use. It makes up quickly and is a very simple design with a nice pay off. The pattern includes all the pieces for the bodice and skirt pocket. The skirt they give you the dimensions to cut. Just simple rectangles. The directions are easy to follow and include simple hand drawings.

Size and alterations:

Size L
Added .75 to each side seam
Removed 1 inch from dropped shoulder.
Shortened waist .75 (I am short waisted)

I landed in between sizes L-XL. My first muslin was the size L and it was a bit too tight across the fullest part of my bust. The fit in my upper chest/shoulders was really nice. So I decided to use the size L and add .75 to both side seams. I figured I could just take it in as needed. I also have to remember to allow for skirt bulk and petticoat bulk. Something I like to forget...a lot. Also, any design with a dropped should seam I take off about 1-1.5 inches. They are always way too low. I also shortened the waist by .75 inches. The sleeves run a bit short and tight at the cuff. FYI.

Fabric and construction:

A blend of wool, rayon and poly fabric stuff. This dress would be FABULOUS in a good quality plaid flannel! So TEMPTED! If you have 45 wide fabric you will need at least 7 yards. My fabric was 60 wide and I had 5.5 yards. I was left with a 14 inch piece of fabric when done. Because my fabric was 60 wide I only used two skirt panels instead of three.

The dress goes together easily. The bodice is underlined and the neckline and arm openings are trimmed with piping. The skirt is just gathered onto the bodice. I didn't add pockets to the skirt just to speed things up. This dress has no boning in the bodice. You could certainly add some to the sides if you wished.

Because the cuffs are tight I did not use a button hole and button. Instead I made a loop of round elastic and added a ball button on the other side. The sleeves just slide right on and I don't have to struggle with buttoning cuff buttons to get the sleeves on and off.

I machine stitched the hem for speedy finishing. I also used two lengths of navy blue gimp at the hem. One to cover the machine stitching and the other at the very edge of the hem. Helps give the skirt a little extra body. It was nice to use up some odds and ends I had floating around too.

End notes:

This is a really great little pattern. Makes up easily and quick. Perfect for theater, re-enactors and regular costumers. I will make it again. This dress is designed for ease of movement. If you think Victorian costumes are not comfortable and don't wear a corset then this a great alternative to Laughing Moon patterns or the Big 4 patterns. I honestly think once you get the bodice fitted you could make this in a day.

The Tacoma Dickens festival is always the 2nd Saturday in December. It is just a small event located in the Tacoma Stadium district and at the WW Seymour Botanical Conservatory.


 Good times with good friends!

 Shameless stealing of my friend's vintage fur stole. I mean, it's called a stole, right?
So I stole it!
 Koi!

 The Poinsettia God, Steve.

 Shameless selfie in the horseless carriage!

It was cold, windy and rainy outside. I made this lovely hood to keep warm. Pattern by Anna Worden Bauersmith. Available on Etsy as a PDF. Nice pattern with good instructions!

Cap--Miller's Millinery pattern 2012-1. Technically a Regency cap but I don't care. :-) A very easy make. I made it by machine and just serged the edges and narrow hemmed them. Easy Peasy. Then just put a bow on it!

Friday, October 21, 2016

Simplicity 4551 Historical Fashion Pattern Civil War era Dress

I can't believe I didn't write a review on this for my blog. In May we had a Queen Victoria's birthday event at Fort Nisqually. I don't normally do 1830s-1860s. However I do like the gothic severeness of the 1840s.

So on to Simplicity 4551 which is supposed to be a Civil War era dress. There was some contention about the sleeve style among a few of my costuming peeps. Some felt they looked like 1830s gigot sleeves. But there are some CDV's on Pinterest that do show similar sleeves being worn during the 1850s-60s. Nevertheless I was going to make the dress as is. So here is the review.


Simplicity 4551 Victorian Dress 1850s 1860s, or something like that. Ok so admittedly this is not my era. But I decided to step outside my comfort zone and now I have a mid Victorian dress to wear if needed. I used roller cotton print that looks like moire silk.
Fitting: Corset measurements, 43-36-43 (yeah I know! Almost Marilyn Monroe territory!! Completely ignore the bust measurements on the size chart. This dress has a fitted under bodice so I went by the finished measurements on the pattern pieces. I cut size 16 shoulders and 18 sides. The fitted under bodice has A LOT of ease built in. Too much for it's job of being a fitted under bodice. I avoided most of that by cutting the smaller size. I made 2 alterations. First the shoulder fell way to low on me. So I trimmed a good 1.5 inches off the top of the arm opening. The sleeve seams still falls low, as it should but not ridiculously so. The Big 4 figures the larger size you are the broader your shoulder must be. Nope. I knew the waist would be too small so I added 2 inches to the side seam on the front bodice only, nothing on the back. I need all my extra room across the front. The back was a nice fit. 
Construction:
This is where 4551 falls into my not recommended category. All was going swimmingly until I got to attaching the skirt to the bodice. Their instructions were very confusing. The dress buttons down the center but the skirt opens on the left side front. Their diagram was poorly drawn and if I was a novice I would have packed it in. But I was determined and I finally figured it out. The skirt required cartridge pleating. This has to be done by hand. Not difficult, just tedious. I did manage to get more pleats on the right side than the left. But it was my first time so... I had to play with the sleeve pleats to get them to fit properly. But pleats are meant to be shuffled for the proper fit. All our shoulders are different shapes.
Conclusion:
I am glad I stuck with it. I won't make this pattern again. I think there are others out there that would be hella less confusing. If you really want to make this keep the bodice and the skirt separate. Then you can skip all the grief I struggled with.


Wednesday, May 25, 2016

TV462 Tail Bodice and TV263 Imperial skirt Victorian Bustle Dress 1880s

Because I was in need of a fantastic purple bustle dress for an upcoming event. The Vampires Ball in Portland Oregon. I wanted something that was properly historical but still could be worn to a more non traditional event. Costuming takes time so I want things that are versatile. 
This is the second time I have made this bodice. The first time I was a novice at costuming and had never worked with a TV bodice before, just skirts. I would say get a couple of her bodices under your belt before using this one. TV400 is a good one for a beginner and you can use it for both bustle eras. 
I highly recommend this pattern. I made the open necked version in purple silk taffeta. I used my normal size and did my normal adjustments. This bodice is easy to put together and the pleats are not difficult. Just look at the diagram and read the instructions. When you make the pleat markings I suggest marking them on the right side of your underlining and the right side of your bodice lining, if you are lining the bodice. That way you can always see the marks and everything matches up. I did contact TV and asked if the puff sleeve from TV460 would work with TV462. She said yes. That is the sleeve I have used here. Such an easy sleeve to do! I also put a nice ruffle of lace around the neckline and on the sleeves.
Side notes:
My skirt is the Imperial skirt. As you can see I used it as a foundation and did my own thing. I am wearing the Imperial bustle and a bustle pad. I slip the bustle pad into the top of my bustle and it keeps the skirts from weighing it down. Hence the nice 1880s big bustle.
The flowers I made from various colors of lining fabric. I found a tutorial on YouTube. Yay for tutorials! They don't take long to make and have become sort of a guilty pleasure for me to make. I like that you can use inexpensive lining fabric for these. Because you use an open flame to curl the petals you have to use synthetic fibers. I tried a few different types.

Costume Satin: Underwhelming. A bit too heavy. Even the lightweight cheapy stuff was meh..
Poly Organza: Underwhelming also. A bit to springy and didn't curl as nice.
Chiffon: Huge PITA. Slippery.
Thin poly lining fabrics like China Silk: This particular brand works the best IMHO. I tried some other lining fabrics and they were ok, but not as nice as China Silk. Red has been the toughest color to work with so far. Something about the color causes it to blacken on the edges. Even if I hold it the same distance away as I do the white or pink. You can also use tulle but you don't need to put that near a flame.


Flower close up. And feathers, gotta have feathers.