Saturday, October 6, 2018

My experience with Truly Victorian TVE01 1903 Edwardian S Bend Corset

One thing I have been wanting to make for quite a while is an S bend corset.  I am not the most prolific corset maker because it's not my favorite activity. However, I really want to delve into this era and one must start with the proper foundations. I had already made some Edwardian combinations quite awhile ago. Probably my most favorite style of under garments. Alright! Let's go!

Pattern and sizing:

Multi sized with different cup sizes up to DD. The corset had 3 bust heights and 3 hips lengths. Really, I mean REALLY read thru her size selection several times. It will make things so much easier. By following her directions I only needed one mock up. First off don't over fit this corset. Use padding where needed. I have a hip/rump pad that I use under my 1890s costumes because my hip/waist ratio is very small. A little extra padding gives me a more hourglass shape.

What can be tricky about the sizing is waist/bust size. If there is 2 or more size differences between your waist and bust measure you need to reduce your cup size. I wear a D cup bra. Do to my waist/bust size I went down to a B cup. Trust me, it works. I started obsessing about hip size but stopped once I made my mock up and realized I had made them too small. I knew I was over thinking and went up one size in my hip area. I decided on the mid bust and longest hip length. If you have a tummy a longer hip length will be your friend.

Materials:

This is a single layer corset. I used beige coutil for mine. I decided on synthetic whalebone for most of my boning except for the back lacing bones, they are flat steel. She does not recommend spiral steels for this corset, only flat steel. I did cheat and used coutil lacing tape. The real good quality lacing tape isn't cheap. This is the only corset I have ever used it for and it was awesome! The tape has a boning channel on each side of the grommets. I bought mine from Farthingales and they have a tutorial on how to use it.

Directions:

Her directions are very clear. I didn't have any issues at all. There are no clearly marked boning channels on the front pieces. Look at the diagram and you will see where to place them.

Things I did differently and final notes:

I did add a couple extra boning channels on the back/side backs. This is just a personal preference. I also put in a double busk. A double busk is a wide piece of flat steel that you encase in fabric and sew on to the corset near the main busk. It makes it so much easier to do up a busk when dressing and add additional support. I don't do this when wearing a spoon busk. I have found that a lot of regular busks are flimsy and the extra bone behind them helps with that. Here is a link on the double busk process.


https://corsetmakers.livejournal.com/1692950.html

Also here is the type of under busk/double busk boning I bought.

https://corsetmaking.com/extra-wide-under-busk.html

TVE01 is a great pattern. I am totally pleased with the results and I am looking forward to costuming a whole new era!

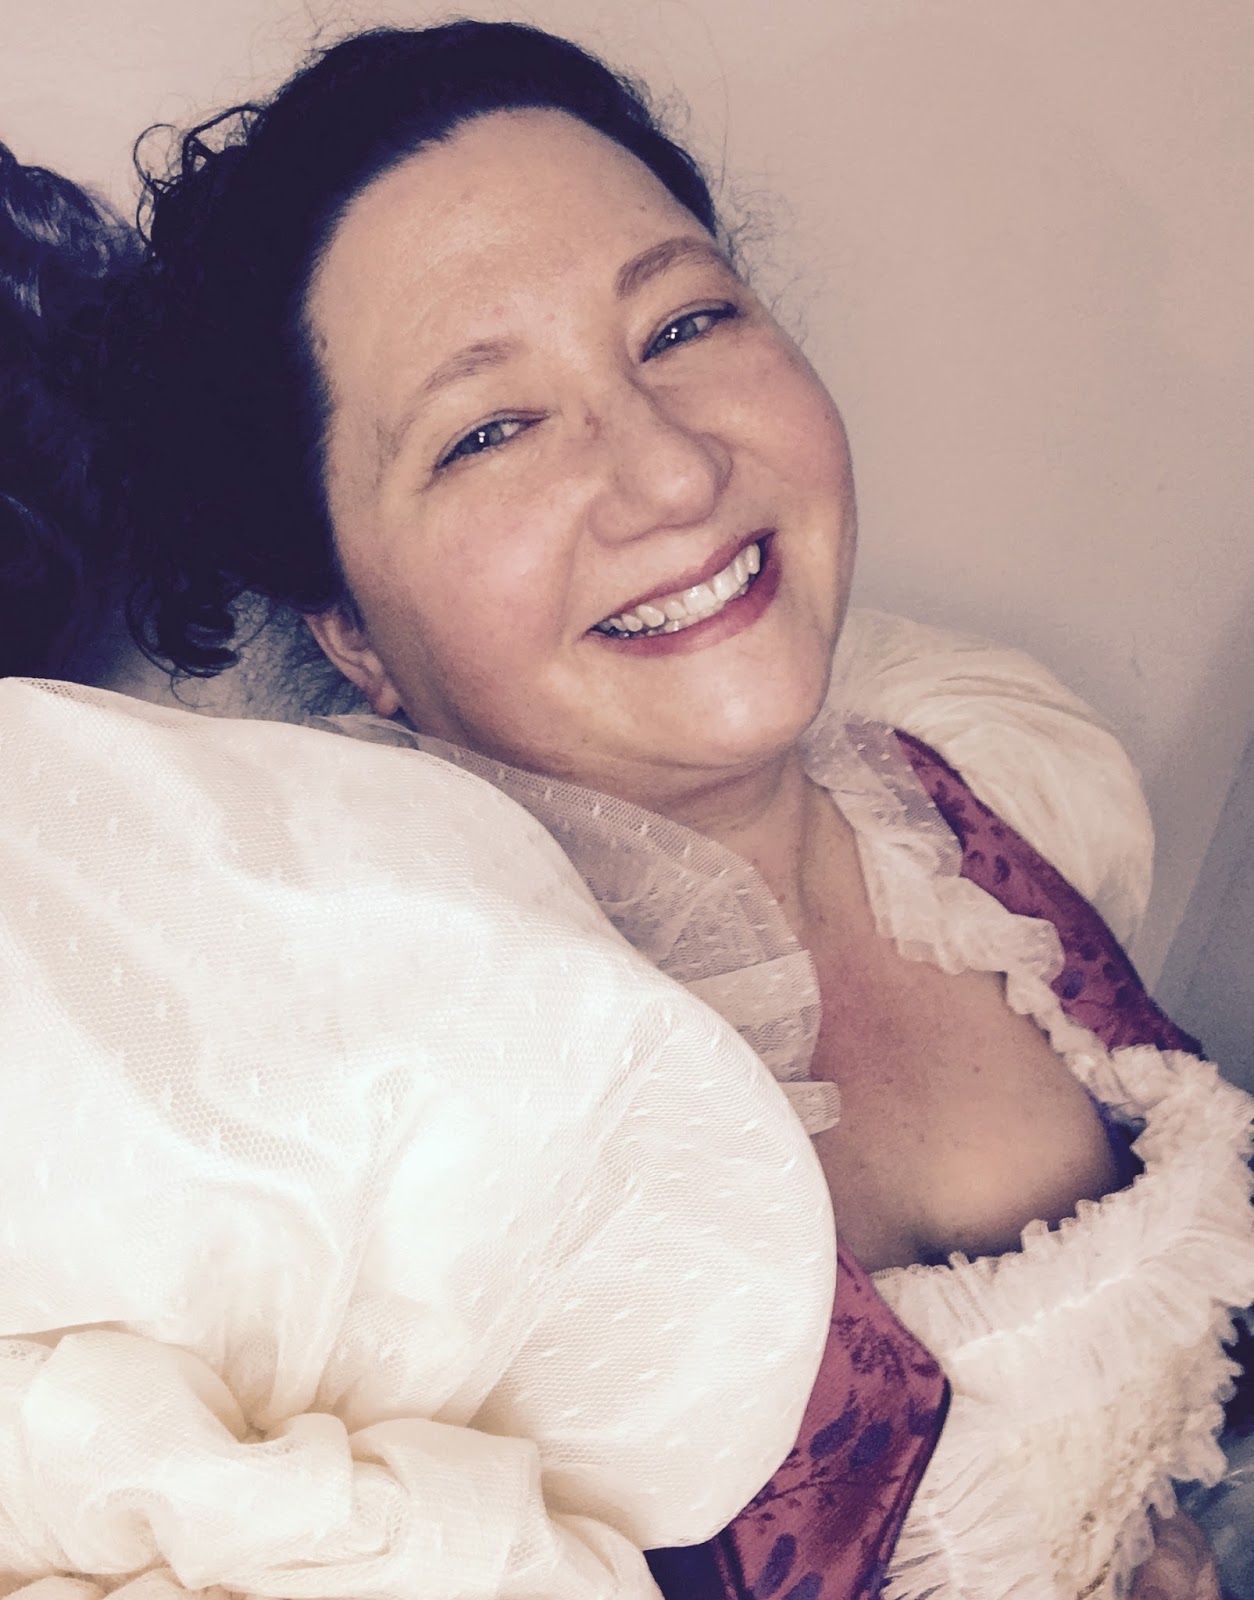
Trying to be tasteful here....

 Here is my double busk. The bone does not need to be as long as your busk.

 Wrong side of double busk.

 Close up front.

I made some garters using 1 inch overall clasps, satin ribbon, no roll elastic and 5/8 inch sew on metal buttons. The overall clasps come with nail on buttons and they weren't cooperating with me.

Tuesday, June 26, 2018

My La Mode Bagatelle Artistic Reform Tea Gown adventure!

Well I decided I needed a challenge gauntlet thrown down in my sewing room! I have been in a bit of a funk, kinda bored and unmotivated. I rely on sewing to keep the creative side of my brain happy. It lifts my mood and eases stress. So I went wandering through my patterns and nestled in my 1890s stash was La Mode Bagatelle's Artistic Reform Tea Gowns pattern. I already had the fabric needed for the under gown and over gown. The only things purchased were ribbon and some lace. Yay for stash busting!

Here we go!

Under gown:

I decided on view C. This is the most advanced view and it took a lot of patience. The under gown's bodice has a fitted waist length under bodice and the outer bodice has a raised waist line, except for the very front pieces. View C has a stand up collar and very involved ruched pin tucked sleeves with cuffs. The skirt is a simple A line shape lightly gathered.

Fabric:

Cream silk sari fabric. This is a light weight version of silk taffeta. It is very nice to work with. The pattern's fabric requirements are accurate. I do try to have a bit more on hand than I need just in case.

Size:

I decided on size 18 or 44 bust. Yes I did make a muslin and just needed to add a bit more in the waist area. I am wearing this with a loosely laced corset. If you decide to wear this with modern undergarments you may have to make more alterations. The bust points are very perky and if you are dealing with the ravages of gravity then you might have to lengthen the bodice to get full coverage. They do also have a DD cup option in this pattern.

Alterations:

The under gown's fitted inside bodice is waist length. As a short waisted gal I had to shorten it about 1.5 inches. I always pay attention to the back of neck to waist measurement on pattern envelopes. I also needed to add about 1 inch to the waist measurement. I was surprised that those were the only two alterations I needed to make. I didn't bother to shorten the outer bodice because it was already short enough.

Directions and making it work:

The direction aren't terrible. However they are assuming sewing knowledge. The bodice goes together fine. The stand up collar is not fun at all. Oddly at some point in my life I made a similar collar and understood what they wanted me to do. It is very fussy and I still had to rip out stitches and do over. Attaching the skirt is fine until you reach the front panels. It is again very fussy and I did improvise and attach the last inch on both sides by hand. It still is a bit of a coarse join and the pattern recommends using some trim on the waist seam, I think to cover it up. I'm not putting trim on an under dress. You will be sewing on lots of hooks or snaps. I wound up changing the hooks I used to snaps because there wasn't quite enough tension on my under bodice to hold the hooks closed.

Sleeves:

If you are going with view C you need to make all the pin tucks and gathers by hand. Truly. You start out by pulling single threads from the fabric weave up to the point that each the pin tuck ends. You then use those lines to create your tucks by matching them together 2 at a time. This makes sure your tucks are totally on grain. Otherwise your sleeves will twist weirdly while you are wearing the gown. Then you stitch your tucks by hand with a long running stitch and use that same thread to pull up the gathers. It all works out nicely and the end product is pretty. The cuffs aren't difficult but it took a few  long looks at the drawings to figure out what I was supposed to do. I would say they are fussy but not as bad as the collar.

 Beginning stages of the bodice.

 Sleeve progress. This is what they look like as you are pulling threads from the weave to mark the pin tucks. Try to pull gently so you don't go past the end of the tuck markings. 


 Sewing the pin tucks by hand with a long gathering stitch.

Finished sleeve!


 Under gown when fastened.

 Under gown with skirt undone.

 Under gown with all the fastenings undone. 


Over gown view C:

Again the most challenging view. It slips on over your head and has a shoulder closure. I used snaps. Skirt is A line shaped and gathered at the waist with a modest train. Sleeves are pure butterfly fairy Wicca drama. They are pleated to the bodice.

Fabric:

They give a lot of fabric options. Anything from something with lots of drape to stiffer home decor or mid weight silks. I had this lovely green silk faille in my stash. It is a mid weight fabric with lots of body. I used my cream sari silk as the sleeve lining. The trim is 2 1/8 inch wide jacquard ribbon. Gold on black. They don't give yardage info for the amount you will need. I bought 4 yards and used it all. The hem is faced with bias cut brown velveteen. I also added some cheap ruffled lace to protect the hem. I just peeks out and is sewn to the underside of the skirt. Buy the cheap stuff, baste it on by hand. When it gets worn out just replace it.

Size:

Once again the size 18, 44 bust.

Alterations:

I made a muslin and in doing so I realized that the length from shoulder to apex was too long and would need to be shortened. I have this issue with modern RTW fashions as well. My shoulder to apex measurement is short. Things like tank tops are always too long in the strap area. Knowing I had to shorten both bodice front and back in the arm hole area it would throw off the pleats on the sleeves. I didn't worry too much about it and once I got to the sleeves I just followed the pleating markings and made small adjustments to the pleats. The skirt was a bit long in front for me so I shortened it about 1.5 inches.  I'm 5ft 4in for reference. I normally decide on what shoes I will be wearing before I start on any project. I then set my dress form to that height. Once I have the bodice done I will drape the skirt front pattern piece and see how much I need to remove from the length.

Bodice alteration. Both front and back pieces had to be shortened in the upper torso area. The back bodice was gaping even worse than the front.

Directions:

They are still assuming sewing knowledge. I didn't have any issues putting this together but there were some parts of the instructions that just weren't covered. Like sewing the side seams. That is pretty much all the directions say. However, you have a lining and fashion fabric to sew. If you have ever made a lined vest before then you shouldn't have an issue. See below.

Sewing the side seams. Your lining is already attached at the neckline. Sew each side seam RST and then flip it so that the wrong sides rest against each other.

The other part was the shoulder closure. They suggest a piece of a short piece 3 inch wide petersham ribbon that you fold in half. You attach this to one shoulder and it serves as a foundation for the eyes or in my case snaps that the other shoulder will attach to. You don't want this ribbon in your arm hole space. It will interfere when you attach the sleeve. See pic below.

Shoulder seam closure. I had to trim my 3 inch ribbon because it was too wide so I serged the cut edge. I measured and made sure it wasn't going to interfere with my sleeve. The upper raw edge will be enclosed by the lining. The ribbon flips up and the other shoulder will lay on top of the ribbon and attach to it with hooks or snaps.

**Side note, the sleeves are open at the top. That is how you are able to have a shoulder closure. A normal sleeve is sewn together like a tube or circle. Think of this sleeve as the letter C laying on it's curved back.

Make sure you stay stitch the necklines. For two reasons. One is to stabilize and the other is to help with the ribbon placement. You lay the ribbon on top of the bodice pieces ant attach it that way. It helps to have a guide. No right sides together stuff. Do not cut the ribbon until you have made the gathers in the bodice front to your liking. Measure what you need then cut. The ribbon will need darts on both the front and back points. This will be done freestyle as you are attaching it. 

Bodice completed. Where the waist trim meets at the center point is where you will put the dart, same at the center back. 

Attaching the skirt was not difficult. I did have to combine gathers and pleats because my fabric was thick. All gathers looked like crap. So I gathered the front and back and pleated the sides. Again you are laying your trim/ribbon on top and top stitching it to attach. It helps to have your seam allowances  clearly marked.

Final notes:

A really nice pattern but not for beginners. Even an intermediate may struggle with this one. I had some head scratching moments for sure but worked my way through them. You fabric choices will determine how this gown drapes. Mine is more origami like because my fabric has so much body. If you go with silk velvet, chiffon or charmeuse the gown will look totally different. What is nice about having the underdress in a neutral color is I can make a different overdress view and change up the look. This delightful ensemble is traveling to Costume College next month! And......... I will now commence with the pictures!

 Sleeve detail. A lot of work but so worth it.

 Going all Artistic Reform in the garden!

 Back view. A modest manageable train. 


 I decided to let my hair down to fully celebrate dress reform!

Contemplating poppies!


Sunday, April 15, 2018

My plaid Mantua Maker Regency Gown 1810-1 Review

FINALLY I am writing this one up. I made this dress last year at the beginning of fall and didn't have the opportunity to wear it until yesterday. Washington Regency Society had their museum outing and spring tea. So out came the silk bonnet and thin cotton dress for a pouring down rainy Pac NW day.
;-)

Pattern, size, fabric:

Mantua Maker No. 1810-1 Regency drawstring dress. Multi sized. Fabric was a plaid cotton voile.
Size chosen : Large. My measurements in chemise, long stays, bodice petticoat-- 43-39(under bust)-43 hips.
 I felt that the XL would be too big in the bust. Plus this was going to be a wearable muslin I figured I can make changes when I make the next one.
Here is the thing about this specific pattern. In order to see if it's going to fit you all those drawstring channels need to be sewn. It's a bit of work. So I thought if I just make the dress up as is I can check fit and have a not perfect dress to wear. Yay!

Instructions:

Very clear. Actually pretty darn bossy. This is not a complaint, just an observation. I do my own thing so I sewed it all by machine including the hems. The dress went together fine. PLEASE read all the instructions first though. In order to make the uber multi puff sleeve you have to do the maths and lengthen the given pattern piece. She gives you the formula to use. I always keep a calculator handy so it was no issue. You will also need to lengthen the skirt piece as well. But most of us are already lengthening, shortening or lifting our skirts anyways. ;-)

My thoughts and changes I made:

This is a good but labor intensive pattern. It is size adjustable so 1 dress could be made to fit several people. She recommends ribbon or rattail cord for the drawstrings. I struggle with super shiny ribbon and rattail. This is a me issue, not a you issue. If you want to run through a field of flowers in a satin dress trimmed with 900 yards of shiny satin ribbon well you do you baby! Have fun, that is what this is all about!
So I used 1/8 wide white twill tape I buy by the roll at Burnley & Trowbridge Co. The waist tie is white satin ribbon.

I used elastic in the sleeves. She wanted all drawstrings and I wasn't having it. Elastic can fit many sized arms without the constant adjustments of drawstrings. However washing and ironing this will be a bitch. My next one will be silk taffeta dry clean only thanks.

The neckline has 4 total sets of drawstrings. Then you have the waist ribbon drawstring. I had to have husband draw everything up and tie them off before I could really tell how this would fit. It took us about 5 minutes to accomplish this event. I realized if I would always need help getting in this dress and Mimi doesn't like that. I am a strong independent woman. So once we had them adjusted exactly where I wanted them I untied only the waist and easily slipped the dress off over my head. I knotted all the ties (except for waist) and top stitched the drawstrings in place at the shoulders. So this dress is not as adjustable but I can sure as hell put it on by myself. Just slip it over your head and tie the waist ribbon.

Alterations I will need:

The under bust/waist just barely meets at the back. I will make it a couple inches bigger. If you are larger than a B cup (D here) you will want to add a bit of length to the bodice. Otherwise the waist seam line will be at your mid bust. Mine is landing a little high. Tying the waist ribbon around the front helps. So that is another thing I need to change. Otherwise it really is a pretty dress. I want it made out  of black silk taffeta. With those ridiculous sleeves. Regency Gothic, Northanger Abbey.

Other final thoughts:

I know a lot of people avoid her patterns because the cover art and few pictures are not that great. Maybe she has been doing this so long there is no interest in repackaging her product. I think that is a shame but... not my circus etc etc etc....

So after all my blah blah blah......I recommend this pattern. Not for a beginner, but anyone beyond that could have a go. Enter into this journey with inexpensive fabric you like but don't love. Plan on just making a wearable muslin. Have fun!

Photo Roundup!

At the museum photo op.

Back view. Ooooooo that back waist is barely keeping it together!

Who wore it better?

Dress front. The drawstrings on the bodice panel are NOT adjustable, just for pretty.


Dress back, many drawstrings.

Shoulder where I topstitched the drawstrings in place.

The Lovely Countess selling her tomatoes....

Lady Rebecca and I trying to open the safe.

The Washington Regency Society


Sunday, April 8, 2018

Port Townsend Victorian Festival 2018 A Victorian Weekend!

Another VicFest is over and it happened so fast! I did much sewing beforehand and even became a bit adventurous in my pattern choices.

It's ALL about the 1890s baby! I honestly think I have found my favorite Victorian fashion decade. I love the shape of the 1890s. Big sleeves, small waists and sassy skirts. The high necklines can be an issue when you don't have much of a neck to begin with. So I fake a high neckline often with some lace or some such. I also shorten the height of collars. I even do this when I make modern clothing.

Let us begin:

The first outfit I made is still a work in progress and was not worn for VicFest. I am having sleeve issues with it. So we will save that one for later.

I wanted to make an evening gown for the dance. I found this fantastic wool/poly brocade at Fabric Mart when they were having a 60% off sale. It is a lovely shade of mauve with bright purple flowers. This is a very nice quality mid weight brocade. The online pictures didn't do it justice at all. I purchased some ivory Point d' Espirit from Joann's. It has a very plastic type feel to it so I washed it, hung it to dry and was happy to discover it gets much softer. The two patterns I used were Ageless Patterns 1894 Cerise Faille Evening dress bodice and Truly Victorian Ripple skirt.

Ageless Patterns bodice:

I used an existing TV bodice pattern as a sloper and went from there. Ageless Patterns have minimal directions and the patterns are only one size. That being said they are a window to the past and it was fun to try something different. I couldn't figure out why the Ageless pattern back bodice pieces were a completely different shape from the lining pieces and looked like they wouldn't fit. I decided to use the lining pieces as my back bodice. It was later explained that they would work together but the back bodice pieces were shaped differently to make the waist look smaller. Oh well, next time I guess. The sleeves are DEVINE! Love them. My only thoughts about Ageless Patterns are-not for beginners, don't expect many directions and or to comprehend the given instructions. I love them in spite of this and will probably play around with more.

TV Ripple Skirt:

I have made 3. It is a fantastic pattern and makes an epic skirt. However, it is a monster to sew and hem (6 yard sweep). The ribbon ties used to hold the ripples in place are tricky to get right on the first go. I normally have to move a spot or two when I am stitching them on. The best way to do this is place the skirt inside out on your dress form. Hand tack the ribbon in place. Luckily I took pictures while my skirt was on my dress from so you can see what's going on. :-)

 Inside of Ripple Skirt and how I tack my ribbon in place.

 Bodice progress, no sleeves yet.

 Finished Ripple skirt. It weighs 4 pounds.
I also suggest wearing 3 petticoats. I have 1 cheater petticoat made of crinoline netting.

 My pattern choice. As you can see my finished bodice doesn't close completely at the bottom like the drawing does. Still, not bad for my first AGL pattern adventure.

 Finished product selfies!

 Puffy sleeve selfie!

This was the only picture I got during the dance. My phone decided to be a butt so hopefully I will wear this again (Costume College) and get some better pics.

VicFest Fashion Show outfit! 

This was another Ageless Pattern/sloper project. I used Ageless Pattern 1684 Garcon Jacket pattern and my TV Eaton Jacket as my sloper. It worked out quite well and the fit is very nice. For the sleeves I used TV495 1890s sleeves view 4 with ruffle. They are pretty damn enormous. I also took some pictures of what I put inside my sleeves to add poof. It's a great way to use scraps of netting. It ain't pretty but it does the job. My skirt was a Ripple skirt I made two years ago. A nice basic black silk taffeta.  I will say that I have very good range of arm motion in both this jacket and my evening bodice and I really like how everything turned out.


 Whats in my sleeve. It's a giant gathered thing attached to the lining.
It sits between the sleeve lining and the fashion fabric. That way to doesn't touch my skin at all.

 Getting ready for tea and then on to the fashion show.
 Looking like trouble AKA the modern 1890s woman.

Fun pictures from VicFest 2018!

 Troublesome two!

Dreaming of the right to vote. ;-) 

 The Ripple Skirt in action. Worth the work.

 Saucy!

 Holmes and Watson, together again.

 Lady Rebecca and the Countess.

 Some of the fashion show group.

 Sunday FunDay! We dressed up and went to Fort Worden park for photographs. I wore my TV Umbrella skirt from last year and made a matching shirtwaist and a pretty net cape. I still have more than enough of the skirt fabric to make a matching evening bodice. On my list of things to do.

 Loving the 1890s in all their glory!

 The umbrella skirt is another monster to sew because of the large volume of fabric. But it is so worth it!


 The Lovely Val!

 Our Lady Rebecca in her pretty striped dress!

 The modern 1890s woman walks with a direct and purposeful stride. 

 Photo ops at the beach!

 The Countess looking lovely as always!

 Lady Rebecca channeling her inner Mary Poppins.

A poignant and pretty Val.

It was a fun event and we are looking forward to next year! Now on to more costuming adventures!