Sunday, April 15, 2018

My plaid Mantua Maker Regency Gown 1810-1 Review

FINALLY I am writing this one up. I made this dress last year at the beginning of fall and didn't have the opportunity to wear it until yesterday. Washington Regency Society had their museum outing and spring tea. So out came the silk bonnet and thin cotton dress for a pouring down rainy Pac NW day.
;-)

Pattern, size, fabric:

Mantua Maker No. 1810-1 Regency drawstring dress. Multi sized. Fabric was a plaid cotton voile.
Size chosen : Large. My measurements in chemise, long stays, bodice petticoat-- 43-39(under bust)-43 hips.
 I felt that the XL would be too big in the bust. Plus this was going to be a wearable muslin I figured I can make changes when I make the next one.
Here is the thing about this specific pattern. In order to see if it's going to fit you all those drawstring channels need to be sewn. It's a bit of work. So I thought if I just make the dress up as is I can check fit and have a not perfect dress to wear. Yay!

Instructions:

Very clear. Actually pretty darn bossy. This is not a complaint, just an observation. I do my own thing so I sewed it all by machine including the hems. The dress went together fine. PLEASE read all the instructions first though. In order to make the uber multi puff sleeve you have to do the maths and lengthen the given pattern piece. She gives you the formula to use. I always keep a calculator handy so it was no issue. You will also need to lengthen the skirt piece as well. But most of us are already lengthening, shortening or lifting our skirts anyways. ;-)

My thoughts and changes I made:

This is a good but labor intensive pattern. It is size adjustable so 1 dress could be made to fit several people. She recommends ribbon or rattail cord for the drawstrings. I struggle with super shiny ribbon and rattail. This is a me issue, not a you issue. If you want to run through a field of flowers in a satin dress trimmed with 900 yards of shiny satin ribbon well you do you baby! Have fun, that is what this is all about!
So I used 1/8 wide white twill tape I buy by the roll at Burnley & Trowbridge Co. The waist tie is white satin ribbon.

I used elastic in the sleeves. She wanted all drawstrings and I wasn't having it. Elastic can fit many sized arms without the constant adjustments of drawstrings. However washing and ironing this will be a bitch. My next one will be silk taffeta dry clean only thanks.

The neckline has 4 total sets of drawstrings. Then you have the waist ribbon drawstring. I had to have husband draw everything up and tie them off before I could really tell how this would fit. It took us about 5 minutes to accomplish this event. I realized if I would always need help getting in this dress and Mimi doesn't like that. I am a strong independent woman. So once we had them adjusted exactly where I wanted them I untied only the waist and easily slipped the dress off over my head. I knotted all the ties (except for waist) and top stitched the drawstrings in place at the shoulders. So this dress is not as adjustable but I can sure as hell put it on by myself. Just slip it over your head and tie the waist ribbon.

Alterations I will need:

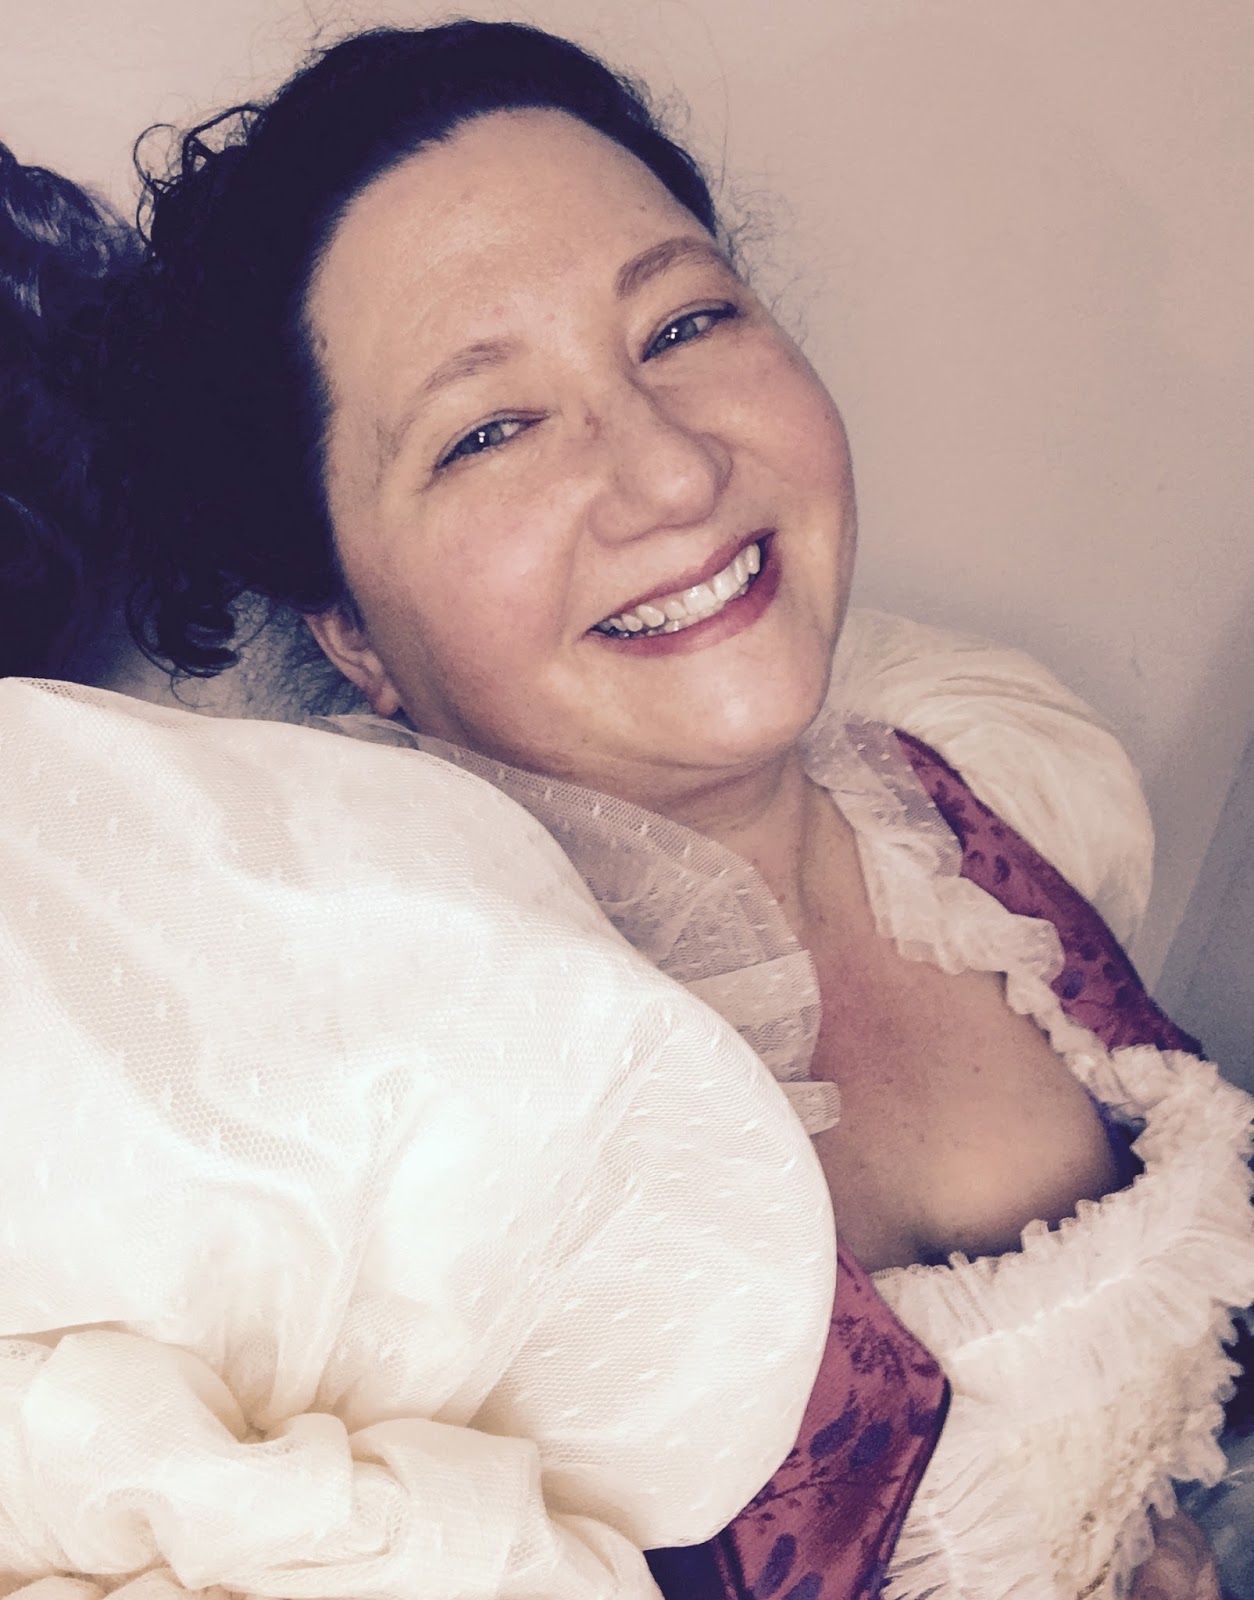
The under bust/waist just barely meets at the back. I will make it a couple inches bigger. If you are larger than a B cup (D here) you will want to add a bit of length to the bodice. Otherwise the waist seam line will be at your mid bust. Mine is landing a little high. Tying the waist ribbon around the front helps. So that is another thing I need to change. Otherwise it really is a pretty dress. I want it made out  of black silk taffeta. With those ridiculous sleeves. Regency Gothic, Northanger Abbey.

Other final thoughts:

I know a lot of people avoid her patterns because the cover art and few pictures are not that great. Maybe she has been doing this so long there is no interest in repackaging her product. I think that is a shame but... not my circus etc etc etc....

So after all my blah blah blah......I recommend this pattern. Not for a beginner, but anyone beyond that could have a go. Enter into this journey with inexpensive fabric you like but don't love. Plan on just making a wearable muslin. Have fun!

Photo Roundup!

At the museum photo op.

Back view. Ooooooo that back waist is barely keeping it together!

Who wore it better?

Dress front. The drawstrings on the bodice panel are NOT adjustable, just for pretty.


Dress back, many drawstrings.

Shoulder where I topstitched the drawstrings in place.

The Lovely Countess selling her tomatoes....

Lady Rebecca and I trying to open the safe.

The Washington Regency Society


Sunday, April 8, 2018

Port Townsend Victorian Festival 2018 A Victorian Weekend!

Another VicFest is over and it happened so fast! I did much sewing beforehand and even became a bit adventurous in my pattern choices.

It's ALL about the 1890s baby! I honestly think I have found my favorite Victorian fashion decade. I love the shape of the 1890s. Big sleeves, small waists and sassy skirts. The high necklines can be an issue when you don't have much of a neck to begin with. So I fake a high neckline often with some lace or some such. I also shorten the height of collars. I even do this when I make modern clothing.

Let us begin:

The first outfit I made is still a work in progress and was not worn for VicFest. I am having sleeve issues with it. So we will save that one for later.

I wanted to make an evening gown for the dance. I found this fantastic wool/poly brocade at Fabric Mart when they were having a 60% off sale. It is a lovely shade of mauve with bright purple flowers. This is a very nice quality mid weight brocade. The online pictures didn't do it justice at all. I purchased some ivory Point d' Espirit from Joann's. It has a very plastic type feel to it so I washed it, hung it to dry and was happy to discover it gets much softer. The two patterns I used were Ageless Patterns 1894 Cerise Faille Evening dress bodice and Truly Victorian Ripple skirt.

Ageless Patterns bodice:

I used an existing TV bodice pattern as a sloper and went from there. Ageless Patterns have minimal directions and the patterns are only one size. That being said they are a window to the past and it was fun to try something different. I couldn't figure out why the Ageless pattern back bodice pieces were a completely different shape from the lining pieces and looked like they wouldn't fit. I decided to use the lining pieces as my back bodice. It was later explained that they would work together but the back bodice pieces were shaped differently to make the waist look smaller. Oh well, next time I guess. The sleeves are DEVINE! Love them. My only thoughts about Ageless Patterns are-not for beginners, don't expect many directions and or to comprehend the given instructions. I love them in spite of this and will probably play around with more.

TV Ripple Skirt:

I have made 3. It is a fantastic pattern and makes an epic skirt. However, it is a monster to sew and hem (6 yard sweep). The ribbon ties used to hold the ripples in place are tricky to get right on the first go. I normally have to move a spot or two when I am stitching them on. The best way to do this is place the skirt inside out on your dress form. Hand tack the ribbon in place. Luckily I took pictures while my skirt was on my dress from so you can see what's going on. :-)

 Inside of Ripple Skirt and how I tack my ribbon in place.

 Bodice progress, no sleeves yet.

 Finished Ripple skirt. It weighs 4 pounds.
I also suggest wearing 3 petticoats. I have 1 cheater petticoat made of crinoline netting.

 My pattern choice. As you can see my finished bodice doesn't close completely at the bottom like the drawing does. Still, not bad for my first AGL pattern adventure.

 Finished product selfies!

 Puffy sleeve selfie!

This was the only picture I got during the dance. My phone decided to be a butt so hopefully I will wear this again (Costume College) and get some better pics.

VicFest Fashion Show outfit! 

This was another Ageless Pattern/sloper project. I used Ageless Pattern 1684 Garcon Jacket pattern and my TV Eaton Jacket as my sloper. It worked out quite well and the fit is very nice. For the sleeves I used TV495 1890s sleeves view 4 with ruffle. They are pretty damn enormous. I also took some pictures of what I put inside my sleeves to add poof. It's a great way to use scraps of netting. It ain't pretty but it does the job. My skirt was a Ripple skirt I made two years ago. A nice basic black silk taffeta.  I will say that I have very good range of arm motion in both this jacket and my evening bodice and I really like how everything turned out.


 Whats in my sleeve. It's a giant gathered thing attached to the lining.
It sits between the sleeve lining and the fashion fabric. That way to doesn't touch my skin at all.

 Getting ready for tea and then on to the fashion show.
 Looking like trouble AKA the modern 1890s woman.

Fun pictures from VicFest 2018!

 Troublesome two!

Dreaming of the right to vote. ;-) 

 The Ripple Skirt in action. Worth the work.

 Saucy!

 Holmes and Watson, together again.

 Lady Rebecca and the Countess.

 Some of the fashion show group.

 Sunday FunDay! We dressed up and went to Fort Worden park for photographs. I wore my TV Umbrella skirt from last year and made a matching shirtwaist and a pretty net cape. I still have more than enough of the skirt fabric to make a matching evening bodice. On my list of things to do.

 Loving the 1890s in all their glory!

 The umbrella skirt is another monster to sew because of the large volume of fabric. But it is so worth it!


 The Lovely Val!

 Our Lady Rebecca in her pretty striped dress!

 The modern 1890s woman walks with a direct and purposeful stride. 

 Photo ops at the beach!

 The Countess looking lovely as always!

 Lady Rebecca channeling her inner Mary Poppins.

A poignant and pretty Val.

It was a fun event and we are looking forward to next year! Now on to more costuming adventures!