Hello!!!!
Just a short video I made with the help of both my sons! Enjoy and hopefully you'll get a bit of a laugh because we all need one...😂
I have had some lovely silk brocade in my stash for several years and it was time to use it instead of letting it languish. During the initial Covid shutdown my retail job became non existent so I used some free time to make things I normally would put off because, lazy.
Mill Farm casaque is a pattern I have had for awhile. My plan was to camp during the Colonial Festival 2020 so I knew I would need 18th century "casual" wear. I had a well loved IKEA comforter cover I knew would work, Since the fabric wasn't expensive if the casaque didn't work out I would not shed tears over wasted $$$ fabric. Even though the camping never happened since the friend I was borrowing the tent from was unable to make the festival (due to Covid the festival became just an encampment) so I wasn't able to use my casaque, hopefully I will be able to wear it in 2021 or 2022!
Making the casaque went pretty smoothly. The directions are.....scant at times so I just followed along as best as I could. One thing I found interesting about this pattern is the shoulder pleats are pressed towards the front. As I was perusing through some fashion books with (the fancy books with extant gown diagrams n shit) it seems like both casques and the volante have their pleats pressed towards the shoulder. For the IKEA casaque I made it just as the pattern instructed. I knew for the I would want to press the pleats towards the shoulder. To be honest it just looks better that way. Well, onwards to the silk volante.....
Contemplating the silk Beast:
I'm just going to start out by saying this was truly an organic project. Other than having a base pattern to work off of I had to decide how I wanted this to fit. Also in a perfect world I would have a grand pannier to wear under it but hell no I'm not making one of those. Instead I made a very petite pair of panniers that fit the cut of the gown very well. I think had I used a grand pannier I would have had to make changes to the sides and needed to add much more fabric.
So here is what I decided I wanted:
1. lengthen gown to floor level with a slight train in back.
2. add a fitted inner bodice lining like sacque back gowns have.
3. have the pleats pressed towards shoulder.
4. try not to cry if this whole thing goes sideways.
Starting:
I traced off the casaque pattern and lengthened it. The original Mill Farm pattern has a separate front facing but I decided to make the facing part of the main gown pattern piece. One less seam, baby!
Once the fabric was cut out I started the easy part, making the back pleats. That is always fun to see those beautiful pleats come together. I stitched the back pleats down by hand (I know!!! The real Mimi must have been kidnapped by aliens). Then I stitched the side seams and figured it was time to make the inner bodice lining. The lining would be mostly free floating and it's purpose is to help hold the outer gown in place.
Lining:
I used my JP Ryan Sacque back gown lining pattern for my jumping off point. I traced it off and then made some neckline and armhole alterations to the back piece using the casaque pattern as a guide. Hey! I said this was organic and I have never done anything like this before. Once I felt the back lining piece was good to go I started on the fronts. I sort of did the same thing for the fronts I did for the back. I stitched the lining shoulder and side seams, ya know like ya do. I had made sure the shoulder was long enough but...yeah... I didn't check the front bodice lining length. I only realized the damn thing barely covered my boobs after I basted it in to the gown and tried it on. Bear in mind at this point in the game I still hadn't figured out the whole press front pleats towards shoulder and still be able to put in the sleeves without running into the pleats.
Now, because I'm lazy there was no way I was going to make a whole new fronts for the lining just because they were too short, so I pieced them (AKA adding the extra fabric where I needed it). Once the front lining was the correct length I stitched it just round the back of the neck and around the arm openings of the gown. The only points in the gown where the lining would be 100% stitched in would be the back of neck and armholes. The fronts would just be free floating and pinned together when worn. At this point all shoulder seams are still open on both the lining and gown because I still don't know what the hell I'm doing. Oh and just because it's funny and I'm a spaz, I accidentally stitched in the lining with the wrong side facing out 😐😑😐 *sigh*. Hell no I wasn't about to rip it out to fix that issue. It's in like that so it stays like that, because sometimes a girl just wants to watch the world burn....
Sleeves and Shoulders:
Once I had the lining stitched in I machine basted the shoulder seams and tried it on. The fit was good and the lining really helped hold everything in place. On to the sleeves!
I decided to jump into the Pinterest vortex and looks at 18th century paintings of ladies in volante gowns. It seems like they all have beautiful fluffy gauzy chemises worn under their gowns with the lace trimmed sleeves hanging below the gown cuffs. I didn't really want to make a fluffy chemise so I made fake chemise sleeves that I tacked inside the gown sleeves. I trimmed the gown cuff with pretty silk ribbon and they were ready to go. My advice on sleeves, trim them before you set them into the gown. It's so much easier that way. Also I'm a big fan of hand basting in the entire sleeve before making it permanent.
Attaching the sleeves was a challenge so I did the only think that made sense. I stitched the shoulder from the arm opening going in about .75 of an inch. I kept the pleats free until I had attached the sleeve. Because this was pretty awkward I stitched in the top part of the sleeve by hand and the underarm area was done by machine. After the sleeves were set I laid the pleats how I wanted them and folded under the seam allowance. Once done, I top stitched and whip stitched the rest of the shoulder down 😅. It looks a little coarse but at least my fabric has a busy pattern so the stitches aren't super noticeable.
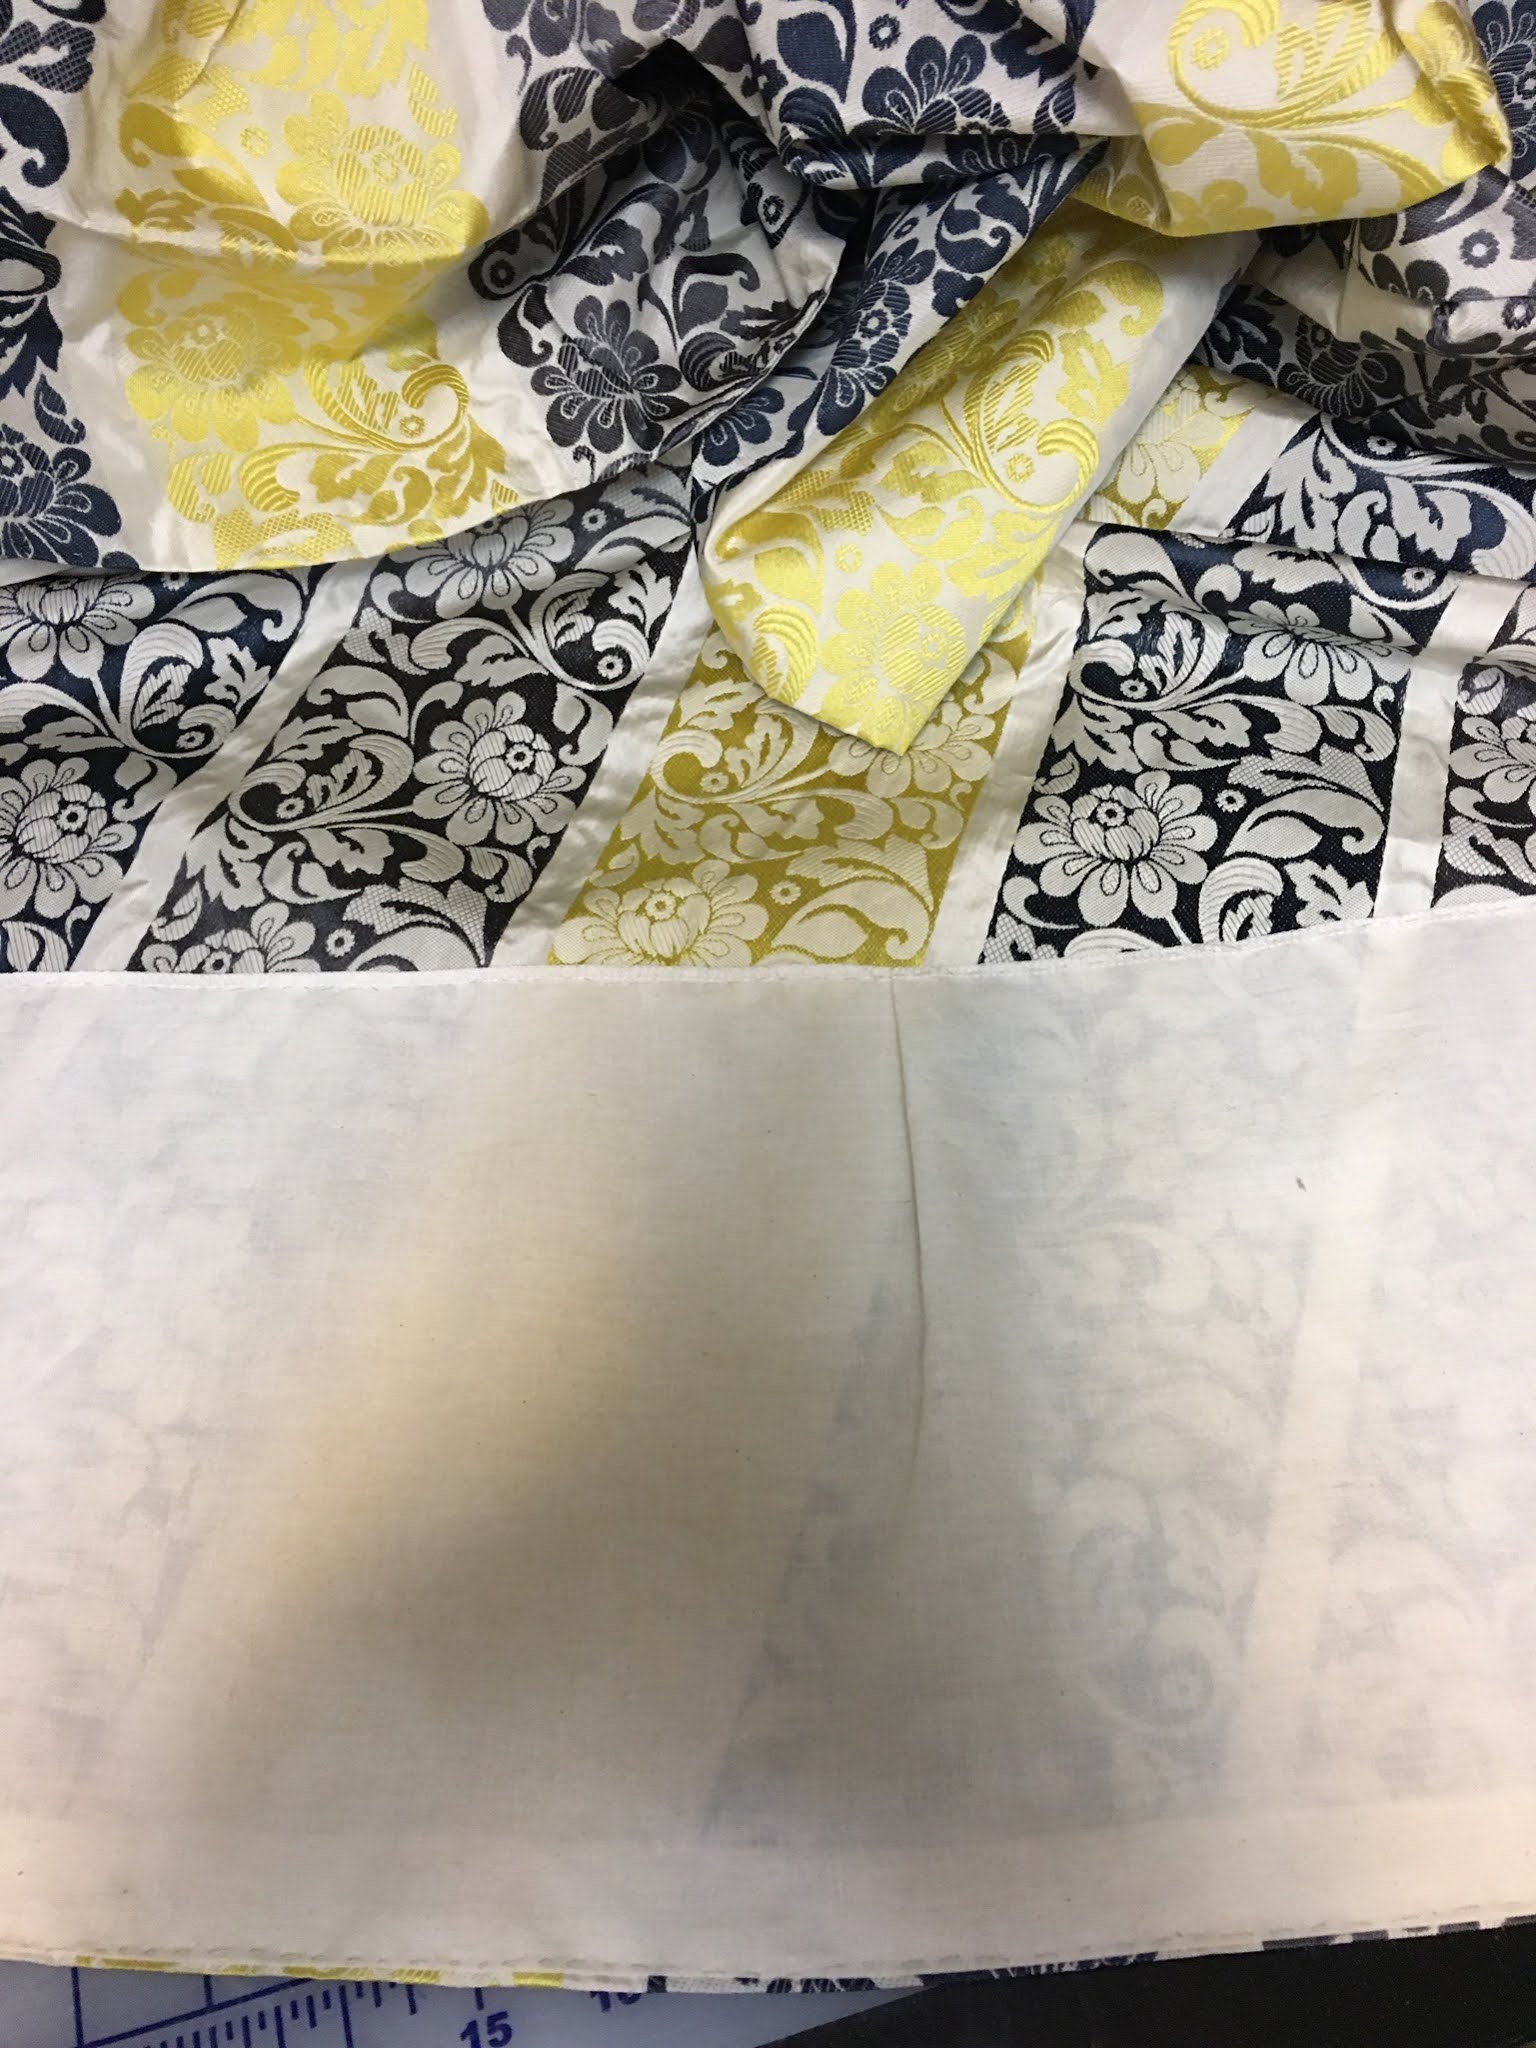
The rest of the gown was easy, if not cumbersome to finish. It's just moving around a buttload of fabric. I whip stitched the fronts together and added self fabric covered buttons. I did add a hem facing of plain white muslin. The entire hem was stitched by hand (shoot me now).....
I made the stomacher from some pretty yellow silk taffeta (Dandelion from Silk Baron). I trimmed with lace and matching buttons. When it's worn I just pin it in place to my stays and then pin the gown to it. I always enjoy the potential of stabbing myself with garment pins because I like living on the edge.
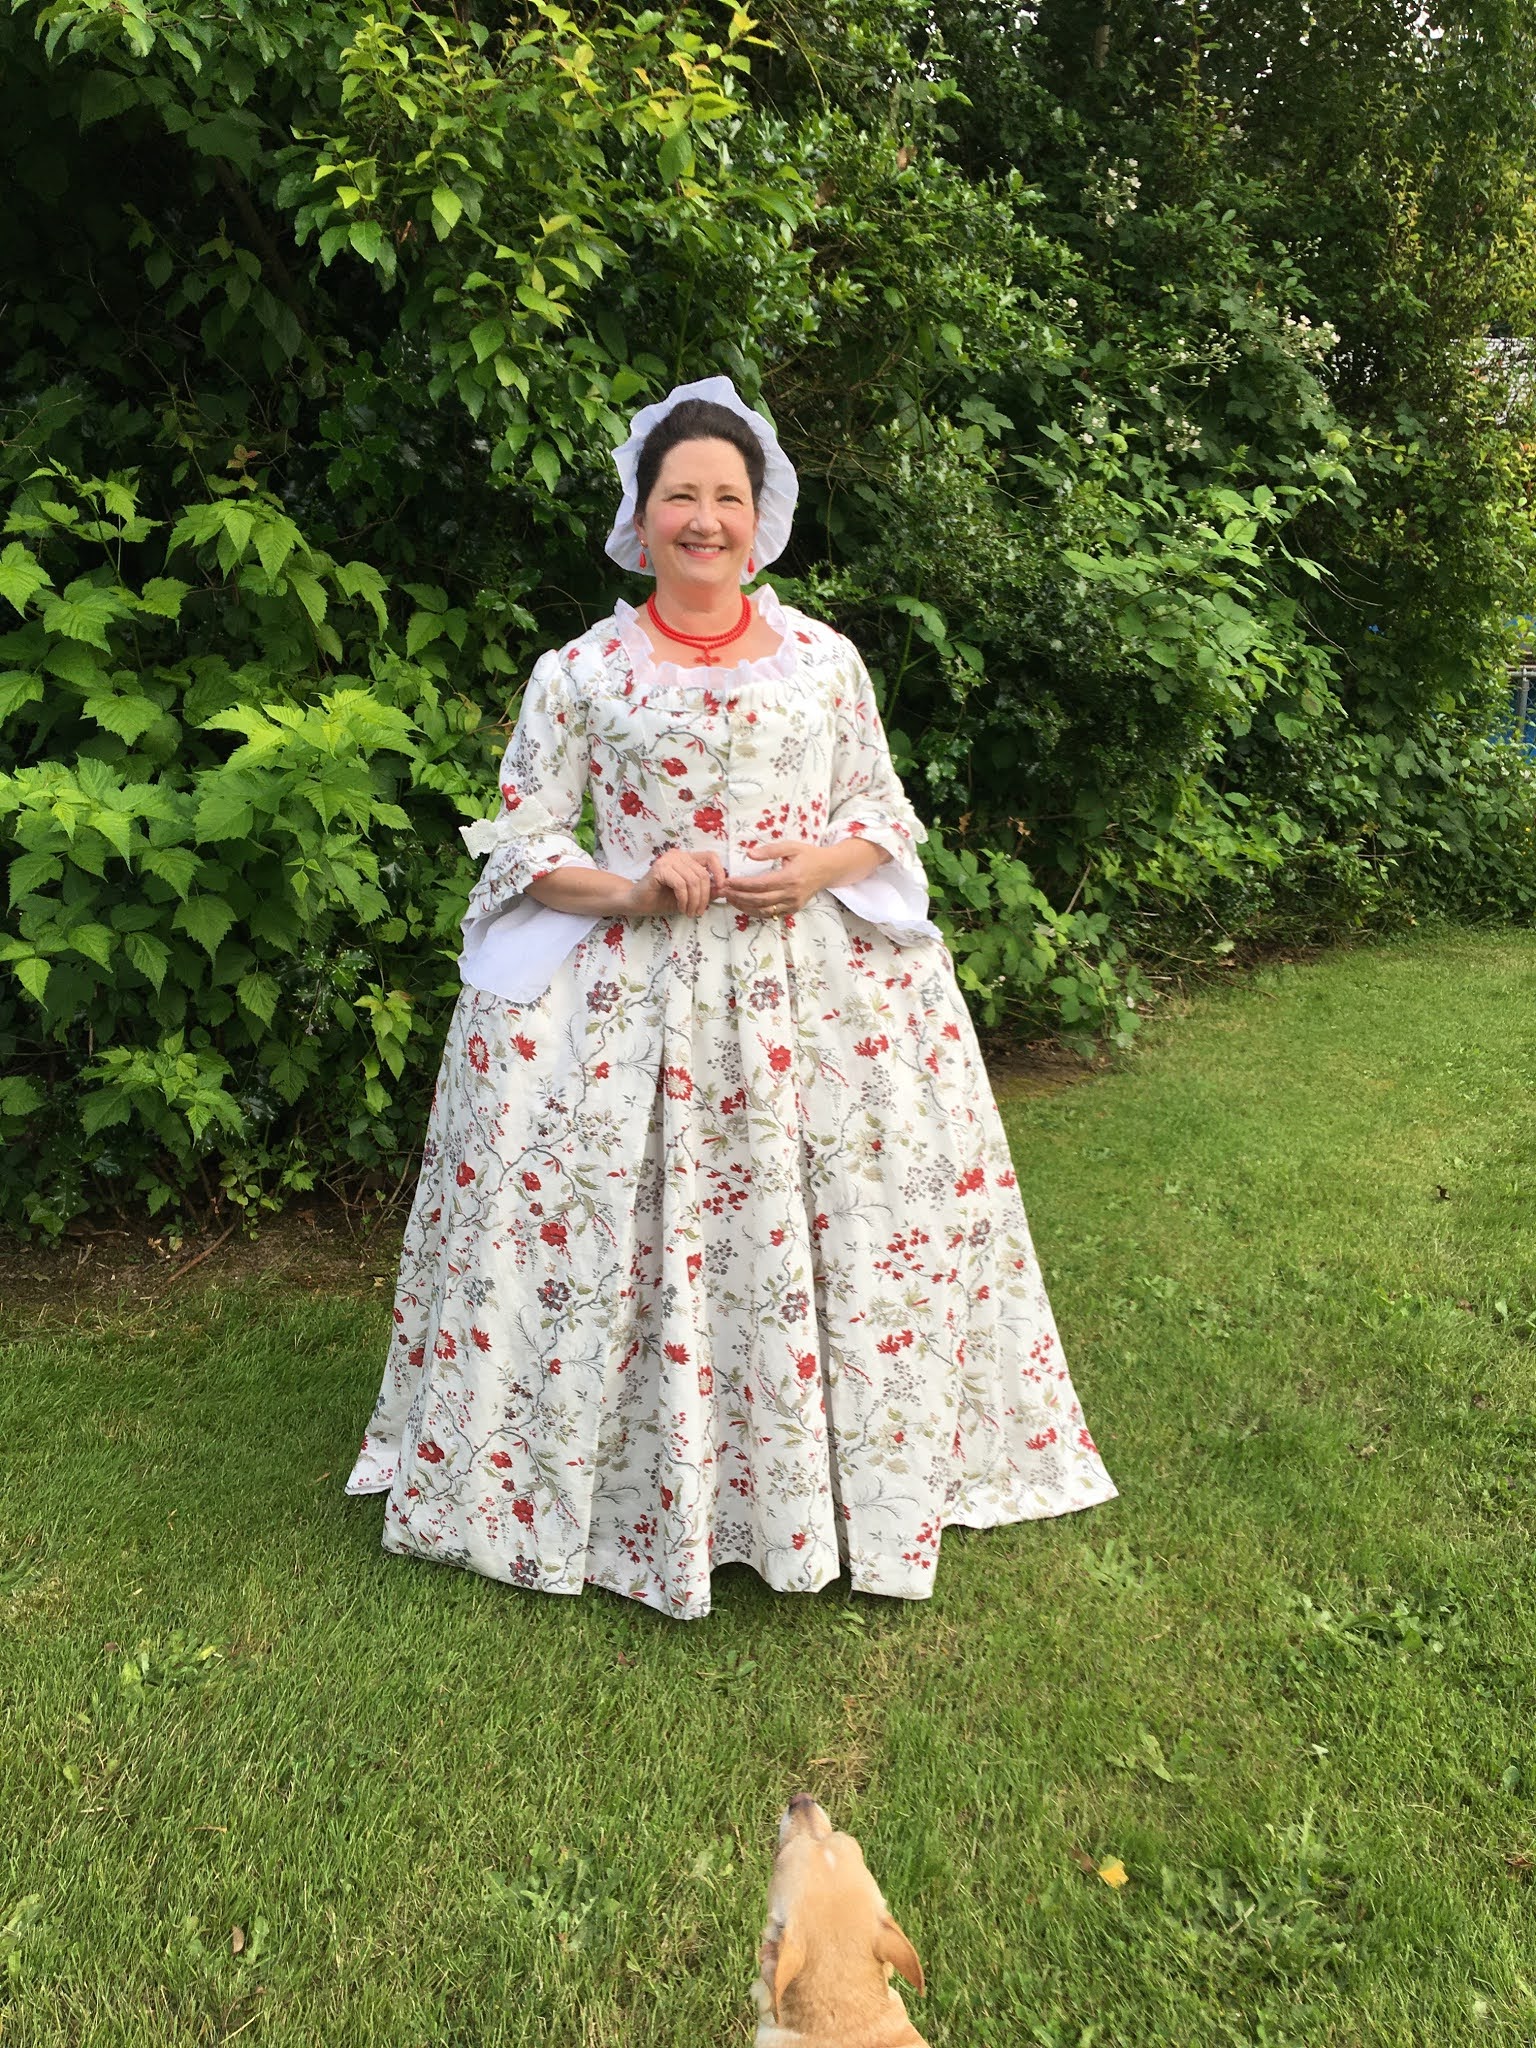
Pictures!


Back to my Victorian natural form journey. This outfit was to be worn for the Victorian Festival fashion show but with all events cancelled it now hangs in my closet.
I used 3 different colors of silk taffeta. The main gown is Mandrake (deep eggplant), contrast is Mandragora (golden olive green) and a small accent of warm grey lavender. The first two fabrics were bought from Silk Baron and the accent fabric was from my stash.
I decided to push my skills a bit and added a back accent based on a gown at the MET, The Mrs. F.M. Carroll dress. It's lovely gown and the back of the bodice is very interesting and unusual.
TV423 Two Toned Bodice:
I already reviewed this lovely pattern so I'm just sharing some of my process on copying the back of Mrs. Carroll's dress. I would like to say I did some fancy math and sketched everything out in 100% perfect detail but.....Nope. After looking at the picture and counting how many bow shapes I was going to need I cut out the 2 back bodice pieces in muslin and started to sketch out the pieces on the back. I used iron away ink so if I made mistakes they would disappear. :-)
The interesting thing about the Carroll dress is if you zoom in you can see that some of the back bow shaped pieces aren't perfectly even. Nice to know that even such a beautiful gown has little discrepancies like that since my stuff is never perfect either.


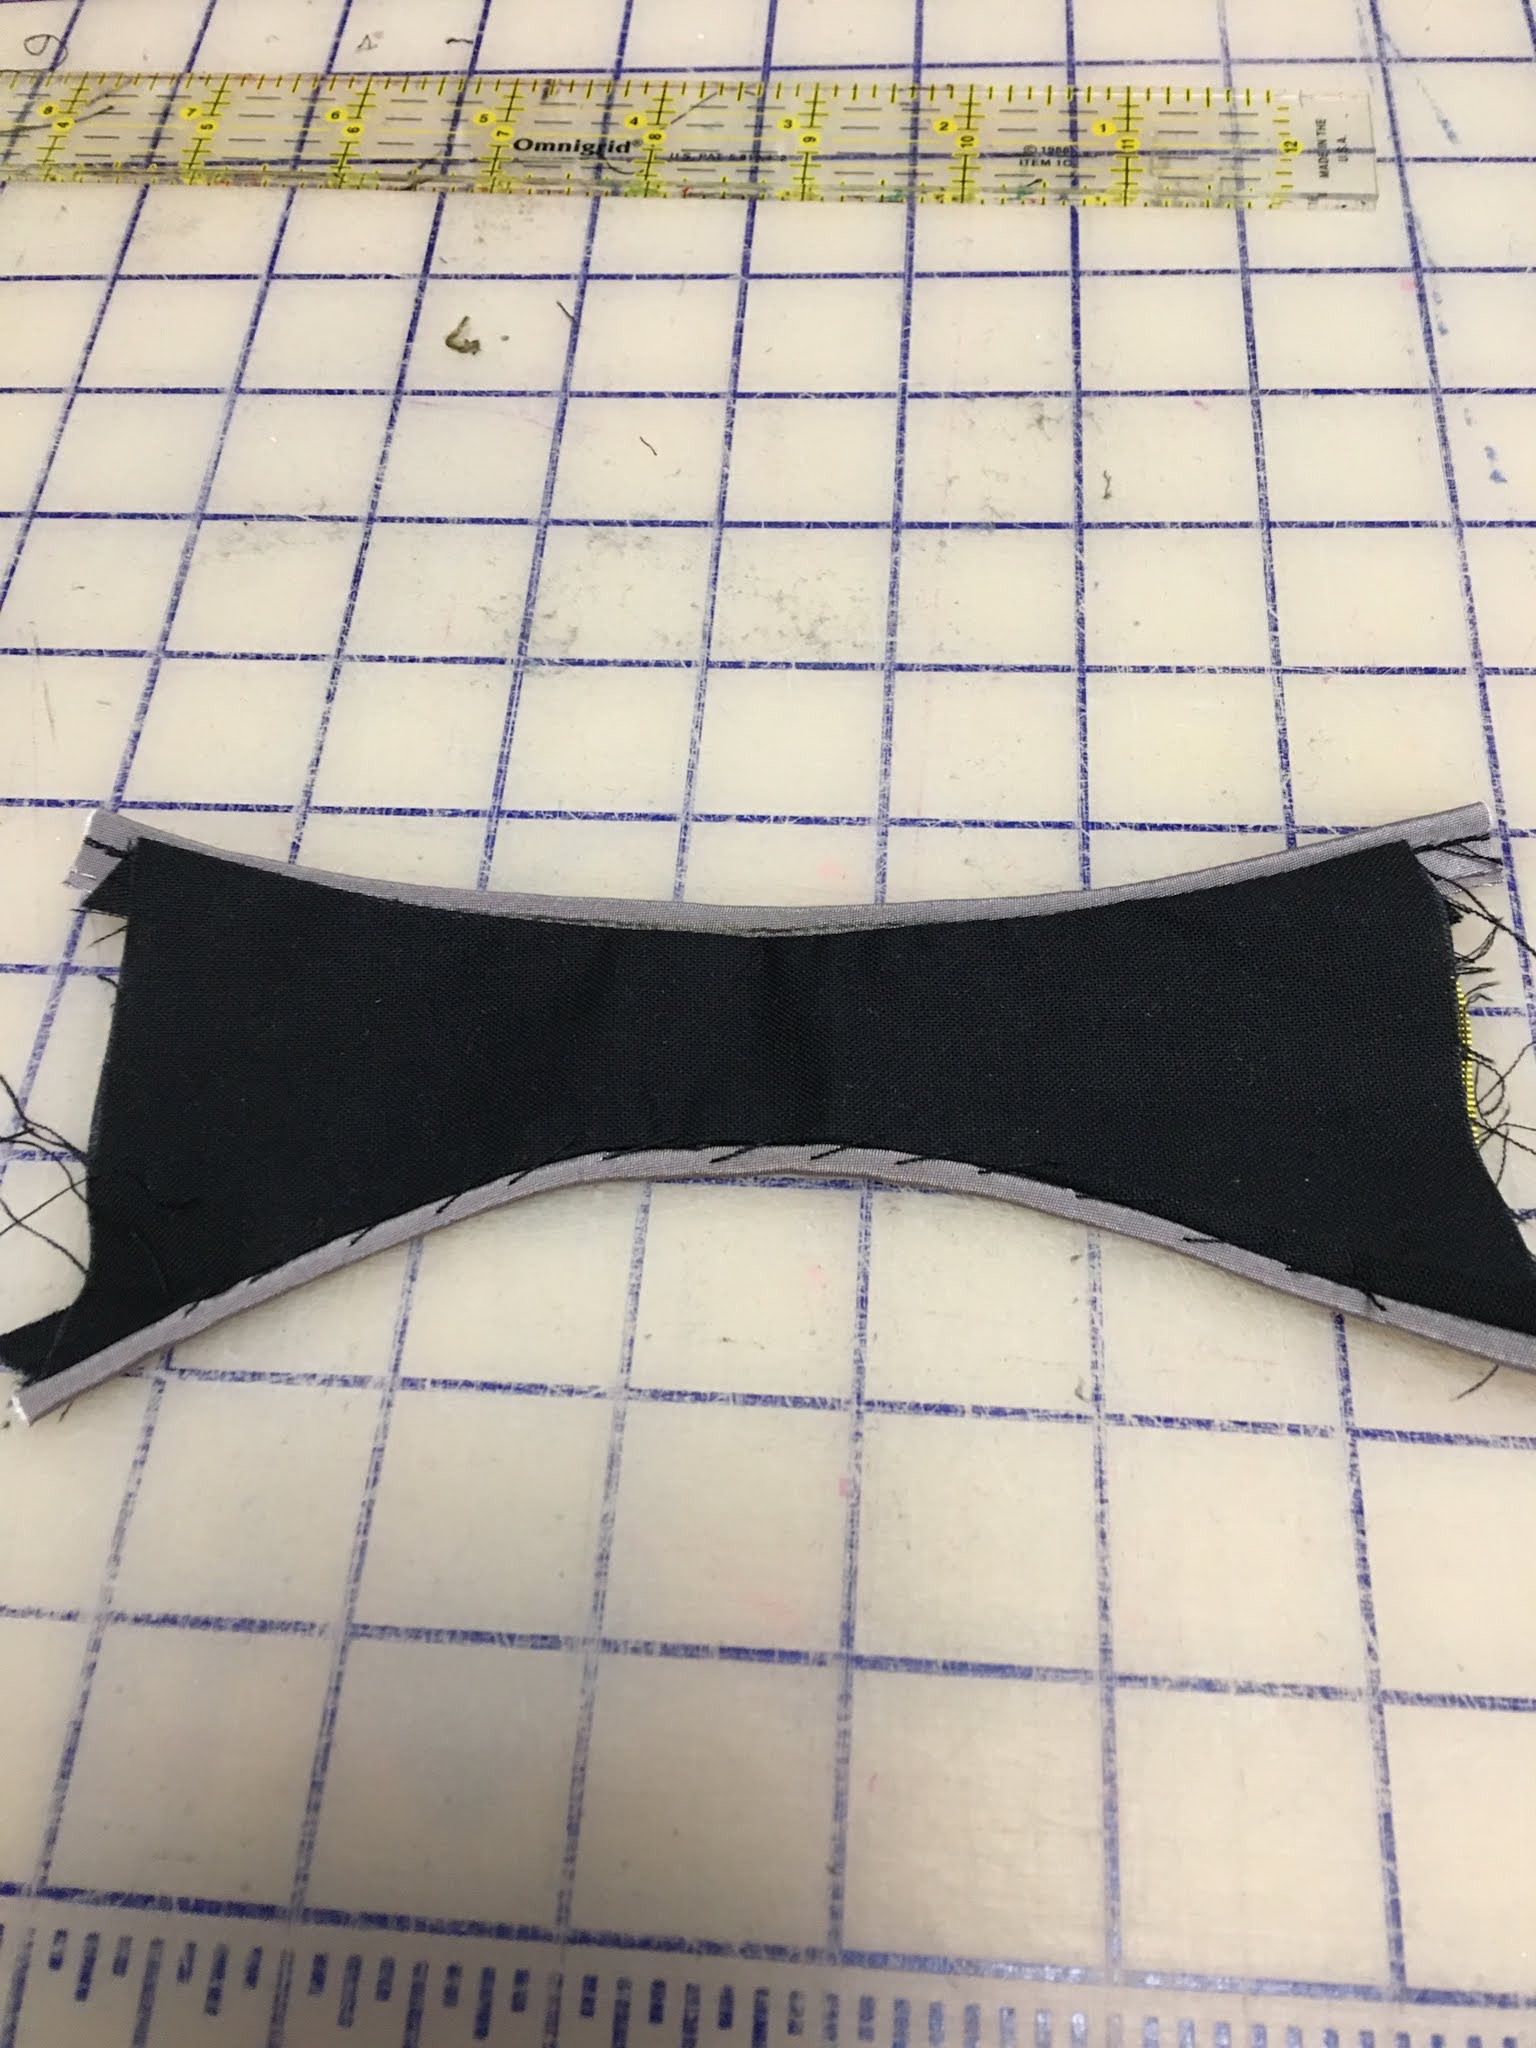
Once all my little pieces were stitched together I laid them out on the muslin to make sure I was headed on the right path. Now it was time to cut out the back bodice pieces. I decided to just cut out the back bodice in case this all went sideways I would still have enough fabric to head in another direction.
After sewing the center back seam I began stitching all the little pieces down leaving about 1.5 inches in the center of each piece open so I could lace the fabric tie up the center back when it was time. The rest of the bodice construction was pretty standard. I did change the neckline and drafted out a different collar, I also made the sleeves 3/4 length. At this point I tried on the bodice and I didn't like how the top two bow pieces looked. My upper back curves forward (bad posture) and those top two pieces really drew attention to my upper back curve. So I took them off and I really prefer how for me, less is more. The thing to give thought to as you are contemplating design elements is your frame size. I'm not very tall and some design elements are too much for my frame. Also I am short waisted and all that detail going down the back was a bit much. Another example, I have a short neck so when I'm making garments (even modern ones) I normally will shorten the collar stand and sometimes the collar piece itself just to make it fit my frame better. Sleeve cuffs are another one. Sometimes they are too big visually for my small wrists so I will make them smaller so they don't overwhelm me. Hopefully this makes sense. :-)
Once the bodice was completely finished I used an extra long piece of ribbon and wound it up thru the center back openings to see how long to cut my fabric. I essentially made a narrow tube the length needed and just threaded it up through the center back. For the bottom of the fabric tube I just copied the original dress as best as I could interpret it. It looks like 3 loops, 1 knot and then three hanging streamers of fabric. That was my best guess.
There are other style details I added to the bodice that aren't part of the pattern. I just looked at fashion plates to find things I liked and then played with tracing paper and the pattern pieces. It all came together very well in the end.
TV221
Tie back underskirt is just that. I added pleated trim to mine and the top part of the skirt is actually cheap home decor cotton so I didn't waste any good silk on a part of the gown no-one would see. This skirt goes together easily and I had no issues with it.
TV324
Long draped overskirt. This is another simple make and my only dislike is how droopy it is. Even with nice crisp taffeta. I tacked some of the pleated gathers to make it drape better and overall I like the finished result.


The eggplant colored fabric like to photograph brown but it's really not. I think the camera picks it up as closer to Aubergine which does have brown tones to it. The green is pretty spot on in color. Both fabric were bought from Silk Baron.
Well I hope you enjoyed this post. I quite like natural form and will certainly make other garments. Thanks again for tuning in to the chronicles of Mimi.
I have already reviewed Simplicity 8758 that I made for an event last year. This year I decided just for fun to make a version from four IKEA cotton ramie curtain panels. It is one of their historic prints and the fabric looks and feel like linen.
Each panel was 2.5 yards long by about 60 something wide. I was very careful in my laying out the pattern and making sure I would have enough fabric. I was left with nothing but scraps by the end.
This time around I lengthened the gown skirt so it was longer than the petticoat by about one inch in the front and that gave me a nice small train in the back. I kept trim very minimal since this is not an evening gown. I also had the stomacher open down the center and I just pin it shut. This would be perfect for a more casual evening meal or for visiting during the day. I have no place to wear it right now but I had so much joy in making it!


My sweet little dog! His name is Pancake.


