Back to my Victorian natural form journey. This outfit was to be worn for the Victorian Festival fashion show but with all events cancelled it now hangs in my closet.
I used 3 different colors of silk taffeta. The main gown is Mandrake (deep eggplant), contrast is Mandragora (golden olive green) and a small accent of warm grey lavender. The first two fabrics were bought from Silk Baron and the accent fabric was from my stash.
I decided to push my skills a bit and added a back accent based on a gown at the MET, The Mrs. F.M. Carroll dress. It's lovely gown and the back of the bodice is very interesting and unusual.
TV423 Two Toned Bodice:
I already reviewed this lovely pattern so I'm just sharing some of my process on copying the back of Mrs. Carroll's dress. I would like to say I did some fancy math and sketched everything out in 100% perfect detail but.....Nope. After looking at the picture and counting how many bow shapes I was going to need I cut out the 2 back bodice pieces in muslin and started to sketch out the pieces on the back. I used iron away ink so if I made mistakes they would disappear. :-)
The interesting thing about the Carroll dress is if you zoom in you can see that some of the back bow shaped pieces aren't perfectly even. Nice to know that even such a beautiful gown has little discrepancies like that since my stuff is never perfect either.


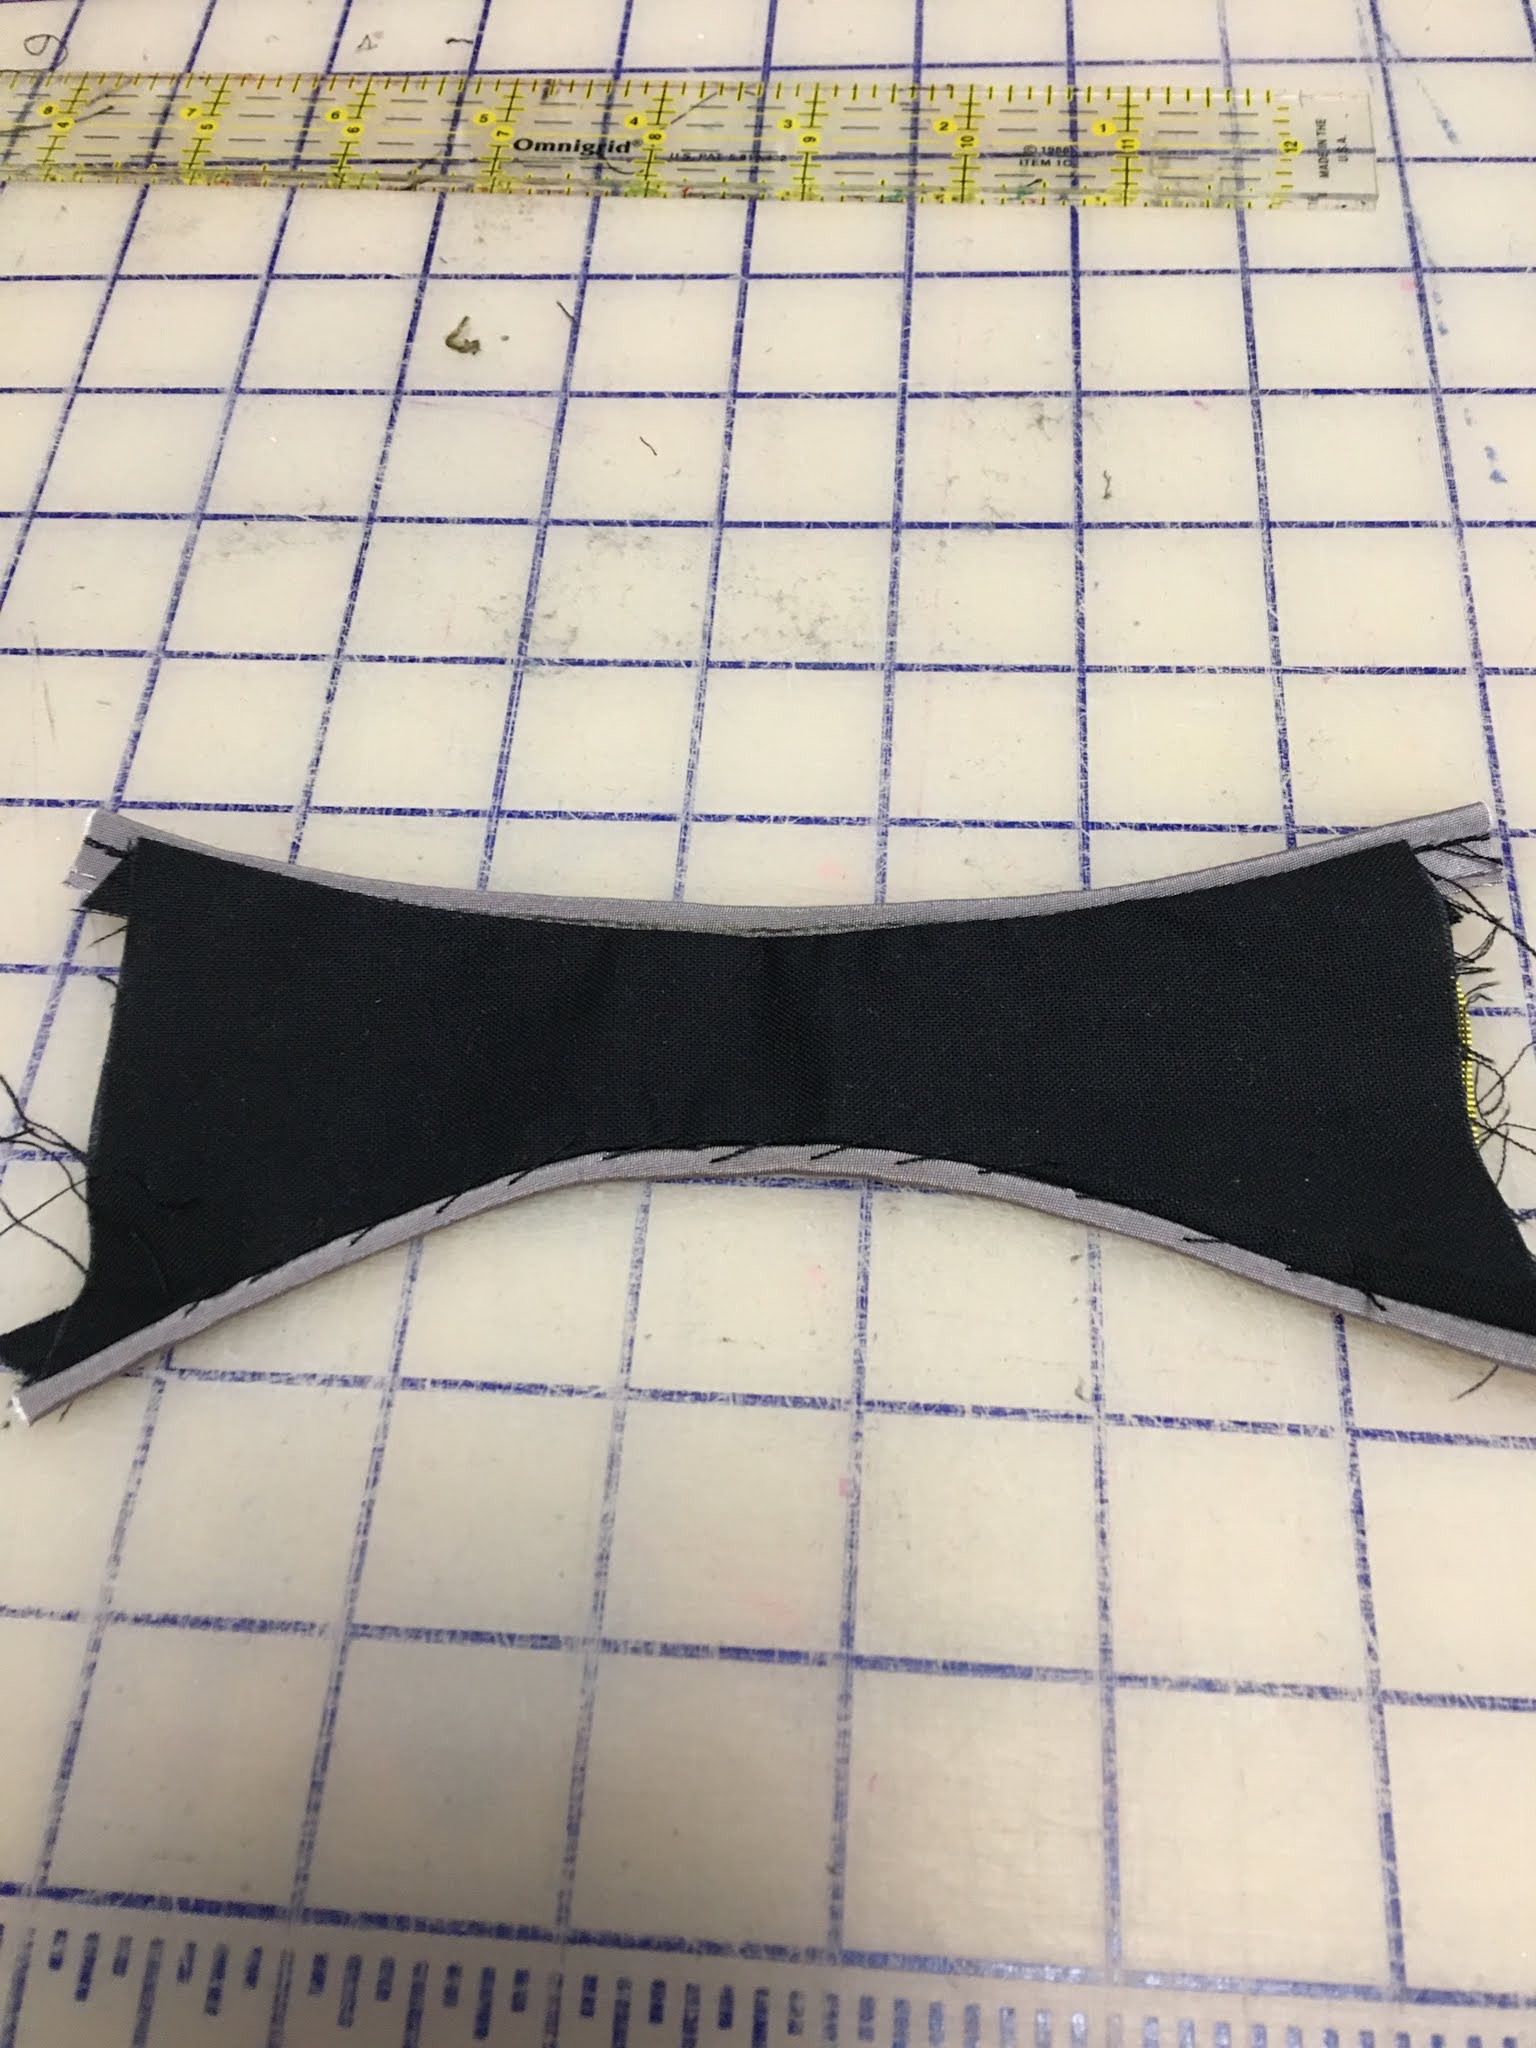
Once all my little pieces were stitched together I laid them out on the muslin to make sure I was headed on the right path. Now it was time to cut out the back bodice pieces. I decided to just cut out the back bodice in case this all went sideways I would still have enough fabric to head in another direction.
After sewing the center back seam I began stitching all the little pieces down leaving about 1.5 inches in the center of each piece open so I could lace the fabric tie up the center back when it was time. The rest of the bodice construction was pretty standard. I did change the neckline and drafted out a different collar, I also made the sleeves 3/4 length. At this point I tried on the bodice and I didn't like how the top two bow pieces looked. My upper back curves forward (bad posture) and those top two pieces really drew attention to my upper back curve. So I took them off and I really prefer how for me, less is more. The thing to give thought to as you are contemplating design elements is your frame size. I'm not very tall and some design elements are too much for my frame. Also I am short waisted and all that detail going down the back was a bit much. Another example, I have a short neck so when I'm making garments (even modern ones) I normally will shorten the collar stand and sometimes the collar piece itself just to make it fit my frame better. Sleeve cuffs are another one. Sometimes they are too big visually for my small wrists so I will make them smaller so they don't overwhelm me. Hopefully this makes sense. :-)
Once the bodice was completely finished I used an extra long piece of ribbon and wound it up thru the center back openings to see how long to cut my fabric. I essentially made a narrow tube the length needed and just threaded it up through the center back. For the bottom of the fabric tube I just copied the original dress as best as I could interpret it. It looks like 3 loops, 1 knot and then three hanging streamers of fabric. That was my best guess.
There are other style details I added to the bodice that aren't part of the pattern. I just looked at fashion plates to find things I liked and then played with tracing paper and the pattern pieces. It all came together very well in the end.
TV221
Tie back underskirt is just that. I added pleated trim to mine and the top part of the skirt is actually cheap home decor cotton so I didn't waste any good silk on a part of the gown no-one would see. This skirt goes together easily and I had no issues with it.
TV324
Long draped overskirt. This is another simple make and my only dislike is how droopy it is. Even with nice crisp taffeta. I tacked some of the pleated gathers to make it drape better and overall I like the finished result.


The eggplant colored fabric like to photograph brown but it's really not. I think the camera picks it up as closer to Aubergine which does have brown tones to it. The green is pretty spot on in color. Both fabric were bought from Silk Baron.
Well I hope you enjoyed this post. I quite like natural form and will certainly make other garments. Thanks again for tuning in to the chronicles of Mimi.
Love, love, love that dress! So elegant.
ReplyDelete