So on to Simplicity 4551 which is supposed to be a Civil War era dress. There was some contention about the sleeve style among a few of my costuming peeps. Some felt they looked like 1830s gigot sleeves. But there are some CDV's on Pinterest that do show similar sleeves being worn during the 1850s-60s. Nevertheless I was going to make the dress as is. So here is the review.
Simplicity 4551 Victorian Dress 1850s 1860s, or something like that. Ok so admittedly this is not my era. But I decided to step outside my comfort zone and now I have a mid Victorian dress to wear if needed. I used roller cotton print that looks like moire silk.
Fitting: Corset measurements, 43-36-43 (yeah I know! Almost Marilyn Monroe territory!! Completely ignore the bust measurements on the size chart. This dress has a fitted under bodice so I went by the finished measurements on the pattern pieces. I cut size 16 shoulders and 18 sides. The fitted under bodice has A LOT of ease built in. Too much for it's job of being a fitted under bodice. I avoided most of that by cutting the smaller size. I made 2 alterations. First the shoulder fell way to low on me. So I trimmed a good 1.5 inches off the top of the arm opening. The sleeve seams still falls low, as it should but not ridiculously so. The Big 4 figures the larger size you are the broader your shoulder must be. Nope. I knew the waist would be too small so I added 2 inches to the side seam on the front bodice only, nothing on the back. I need all my extra room across the front. The back was a nice fit.
Construction:
This is where 4551 falls into my not recommended category. All was going swimmingly until I got to attaching the skirt to the bodice. Their instructions were very confusing. The dress buttons down the center but the skirt opens on the left side front. Their diagram was poorly drawn and if I was a novice I would have packed it in. But I was determined and I finally figured it out. The skirt required cartridge pleating. This has to be done by hand. Not difficult, just tedious. I did manage to get more pleats on the right side than the left. But it was my first time so... I had to play with the sleeve pleats to get them to fit properly. But pleats are meant to be shuffled for the proper fit. All our shoulders are different shapes.
This is where 4551 falls into my not recommended category. All was going swimmingly until I got to attaching the skirt to the bodice. Their instructions were very confusing. The dress buttons down the center but the skirt opens on the left side front. Their diagram was poorly drawn and if I was a novice I would have packed it in. But I was determined and I finally figured it out. The skirt required cartridge pleating. This has to be done by hand. Not difficult, just tedious. I did manage to get more pleats on the right side than the left. But it was my first time so... I had to play with the sleeve pleats to get them to fit properly. But pleats are meant to be shuffled for the proper fit. All our shoulders are different shapes.
Conclusion:
I am glad I stuck with it. I won't make this pattern again. I think there are others out there that would be hella less confusing. If you really want to make this keep the bodice and the skirt separate. Then you can skip all the grief I struggled with.


I am glad I stuck with it. I won't make this pattern again. I think there are others out there that would be hella less confusing. If you really want to make this keep the bodice and the skirt separate. Then you can skip all the grief I struggled with.

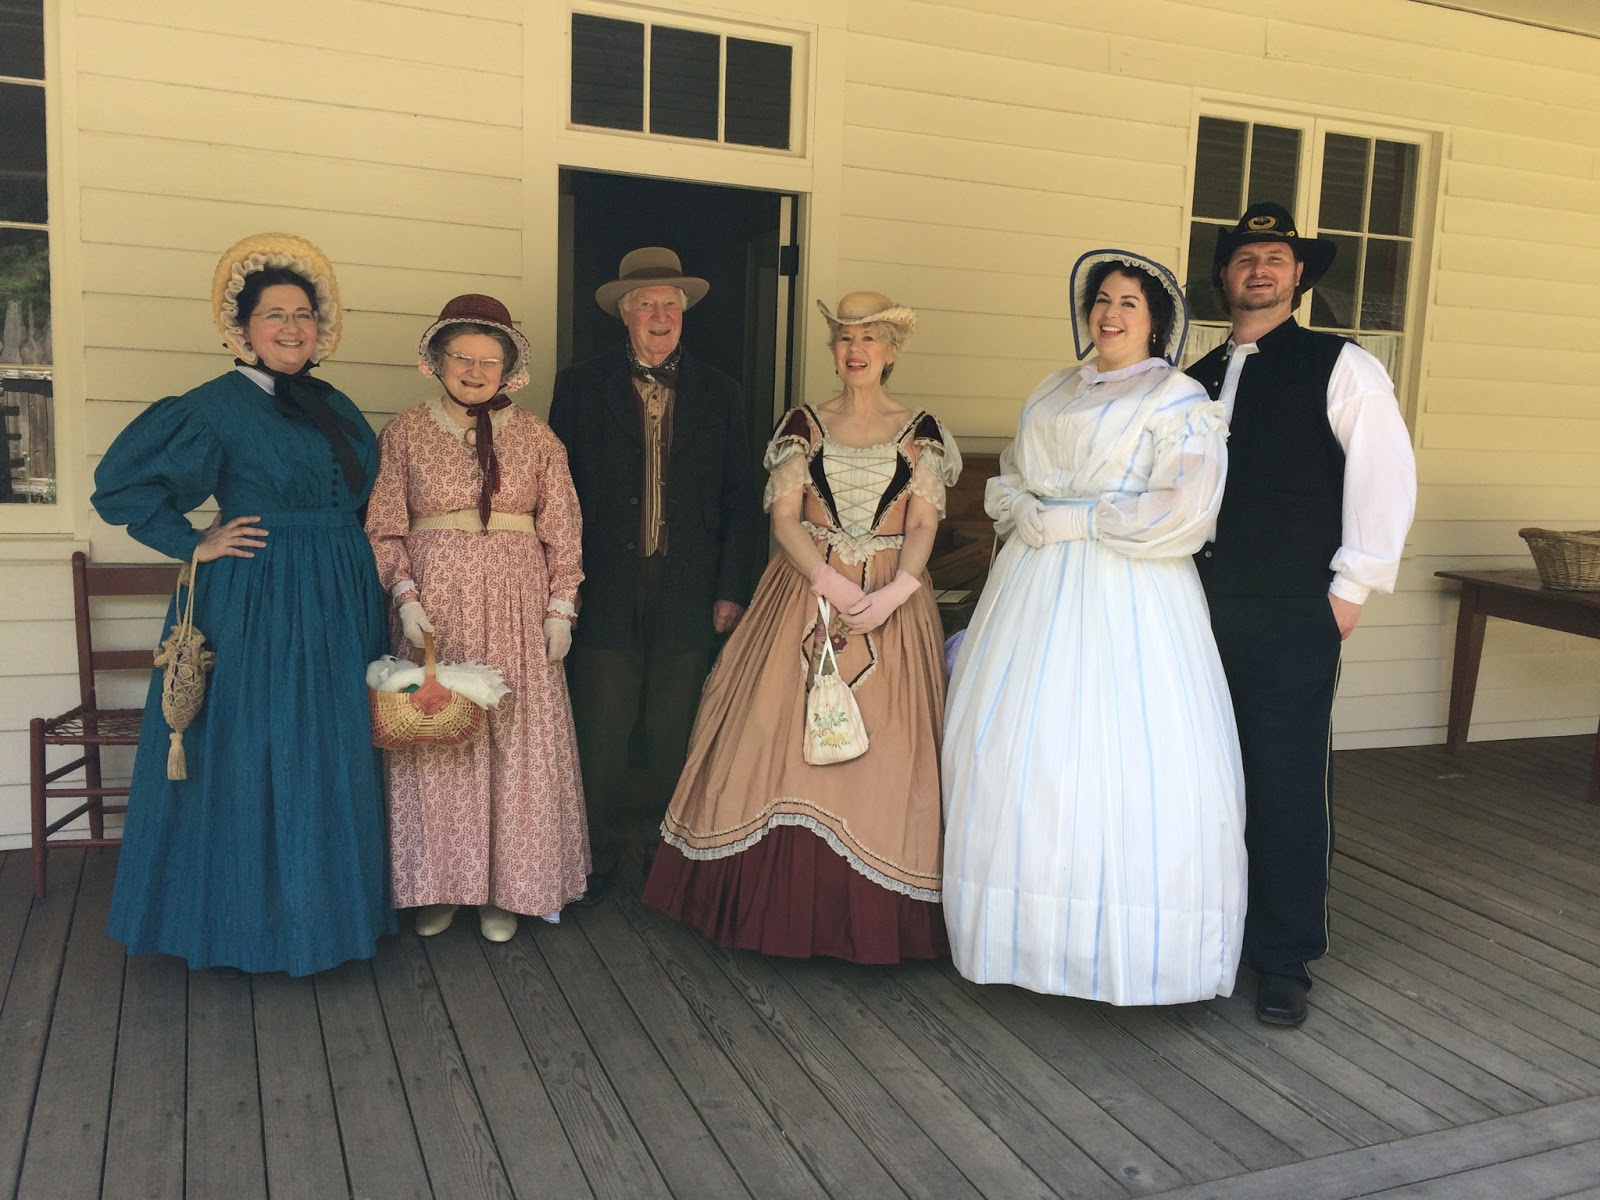


I really love this color, and it looks great on you. And of course now I want to find a color like that. The closest I got was a royal blue but this is a little more teal-blue.
ReplyDeleteI've also used this for mid-1860s and have a photo of a girl wearing a dress like that from that time. After I made mine, someone told me to pleat the fullness in the front & back so it wasn't so blousey.(I think I mentioned that to you before.) I didn't do the underbodice, just flatlined mine. Lazy me.
You stand out beautifully in the crowd.
Val
Thanks!! :-) Yes, I took your advice and pleated the fullness. Looked so much better!
Delete