Showing posts with label Laughing Moon 129. Show all posts

Wednesday, April 12, 2017

My grey plaid Regency dress using La Mode Bagatelle patterns

There was a fabulous event this last weekend put on by the Jane Austin Society of North America. (JASNA) I made this dress last year but didn't have any good pictures of it until now. I am wearing my Wingeo stovepipe hat and a green silk taffeta spencer (Laughing Moon #129). This post is focusing on my La Mode Bagatelle dress.

Pattern:
Realistically this pattern set is all you would need for an entire Regency wardrobe. The whole package is beautifully put together and loaded with different styling ideas. I made the faux drop front dress with shaped skirt (view D). This puts my dress a bit later in the Regency period. I prefer the Regency styles from about 1810 on up.

Sizing and fabric:
I used size 20. My measurements in stays are approximately 44 bust, 39 under bust and 37 waist. I made no alterations to the bodice pattern. The skirt I shortened by a couple inches. My fabric is silk taffeta and the bodice is lined with sturdy white muslin. The sleeves of this era run long anyways so I didn't shorten them.

Construction:
I didn't really have any issues with the directions. The gown went together easily. The sleeves have 4 notches along the sleeve cap. The double notch is the back of the sleeve. The next notch you match near the shoulder seam. Put the fullness where you need it. The last two notches match to the armhole notches at the front.

UDATE: 6/30/2017
Ok, so I am making view D again with short sleeves. I realized I had put the bias neckline casing in wrong on my grey dress. Not that it matters, however it did bring to light an issue with the directions. I think this will also apply to view C as well. On view D if you make the neckline casing via the instructions you will have no way to use the drawstring. Solution ---Make a single small buttonhole on the center front bodice LINING piece (right side of fabric). That way you can access your drawstring. On view C (crossover bodice) I am not sure how to manage that. Once you sew your skirt to the bodice you will essentially sew your drawstring casing closed. Also, it's difficult to tell from the drawings but you sew the drawstring casing to the wrong side of the bodice lining. It winds up sandwiched between the fashion fabric and the lining. Make sure when you under stitch it you are very careful. A few wrong stitches and you won't be fitting much through that little casing. But the under stitching really makes a difference.

End notes:
I really like this pattern. It's only flaw is that it buttons up the back. ;-) This dress has a great shape and the waistline is nice and high. I also like the fact there are no gathers under the bust line. The gored A-line skirt is very flattering. I will definitely make this again. I would like to add a couple more cotton Regency dresses to my wardrobe for summer. I will probably use this pattern for one of them.

Laughing Moon #129

Pattern:
Cross over spencer jacket with 3 different collar options and hem finishes.

Sizing and fabric:
Just like my pink pelisse I used size 22. I shortened the bodice by 1/2 an inch and shortened the sleeves 1.5 inches.

Construction:
Easy. No issues.

End notes:
I like the ruffle on the back. And the collar is super flattering. This is a really cute little jacket and I can see why they were so popular.

 Looking very plaid!


 The Countess looking demure.

 Friends time!

 Silly picture!

 Someone didn't get the mustache stockings required memo...

 Fun times on the stage!


Monday, November 7, 2016

Yay! Washington Regency Society Hunt Tea & Laughing Moon patterns 129 130 & 126

WRS had a fabulous high tea in Seattle. It was a gorgeous day and a really fun event! It seems like I am making a Regency wardrobe even though I never thought I would wear Regency. I am actually enjoying it! Plus it is really fun to make and doesn't take up as much fabric as some of the other eras.

Laughing moon #129/130 a mash up:

I wanted to make a 3/4 length fur trimmed pelisse for the tea. Thinking it would be cold (it wasn't). Plus I knew I would be commuting via bus. Yes, I was out in public, in costume, riding on the bus. It was Sunday morning and quiet. Just me and a couple drunks who probably thought they were hallucinating. I decided to use the spencer pattern from #129 (view B) and the skirt pattern from #130 (view C).

Pattern sizing and alterations:

LM Regency patterns I wear a size 22. In my stays my bust measures 44 and under bust measures 39. I shorten the bodice by 1/2 inch. The sleeves are VERY long. Part of this is a fashion style of the Regency era. But I am a bit more practical so I shortened my sleeves 1.5 inches. I was being conservative in my sleeve alterations because I wanted them to still have the overly long look of the era. That was all I did to the pattern. Simple and quick.

Sewing it up:

Very easy. This does not take overly long to make. I had zero issues with either set of instructions. No complaints. My next project will be a grey velveteen spencer.

Fabric and other details:

I used a lightweight wool suiting in mauve pink. I bought it from Vogue fabrics 2-3 years ago. I only bought 3 yards so I had barely enough to put this together. It is lined in mauve cotton sateen. I made two self fabric straps for the lower sleeves to tighten them up a bit. They are just tacked to the front and back of the sleeves. For the faux fur trim I cut strips of the faux fur and some black cotton. Both 6 inches wide by about 60 inches long. I sewed them right sides together making a fur/cotton tube. Once it was turned right sides out I hand tacked it to the hem. A bit time consuming but it turned out ok. My hand work is nothing to write home about, but I manage. I love this pelisse. It is such a happy color and a nice weight of wool.

Laughing Moon #126 drop front dress:

Well of course I needed a new dress for the tea party! Actually I only had one Regency dress so making another didn't seem too frivolous.

Pattern sizing and alterations:

Again, size 22. I chose the heavily gathered bodice instead of the less gathered one. My cotton Regency dress uses the less gathered one. I shortened the bodice 1/2 inch and the sleeves I shortened 1 inch. No other alterations.

Fabric and other details:

I had some royal blue and black checked silk taffeta. I had originally bought it for a Titanic era dress. Oh well. The long puff sleeve is actually 2 pieces. You make the puff sleeve and  then baste the long sleeve up inside the puff sleeve band. This way they are removable and you can change the look of your dress. How convenient! The dress went together easily and I had no issues with the directions.

Sewing crumbs of advice:

On the drop front dress I put 3 belt carriers on each side. It is easy to get kind of a rectangular shape in this dress due to the front/side front of the skirt sagging a bit. I found that 3 carriers on each side really helps with this issue. My first carrier is laced 2.5 inches in from the side front and the bottom of the carriers are placed on the waist seam. Also press the side panel pleats as flat as possible.

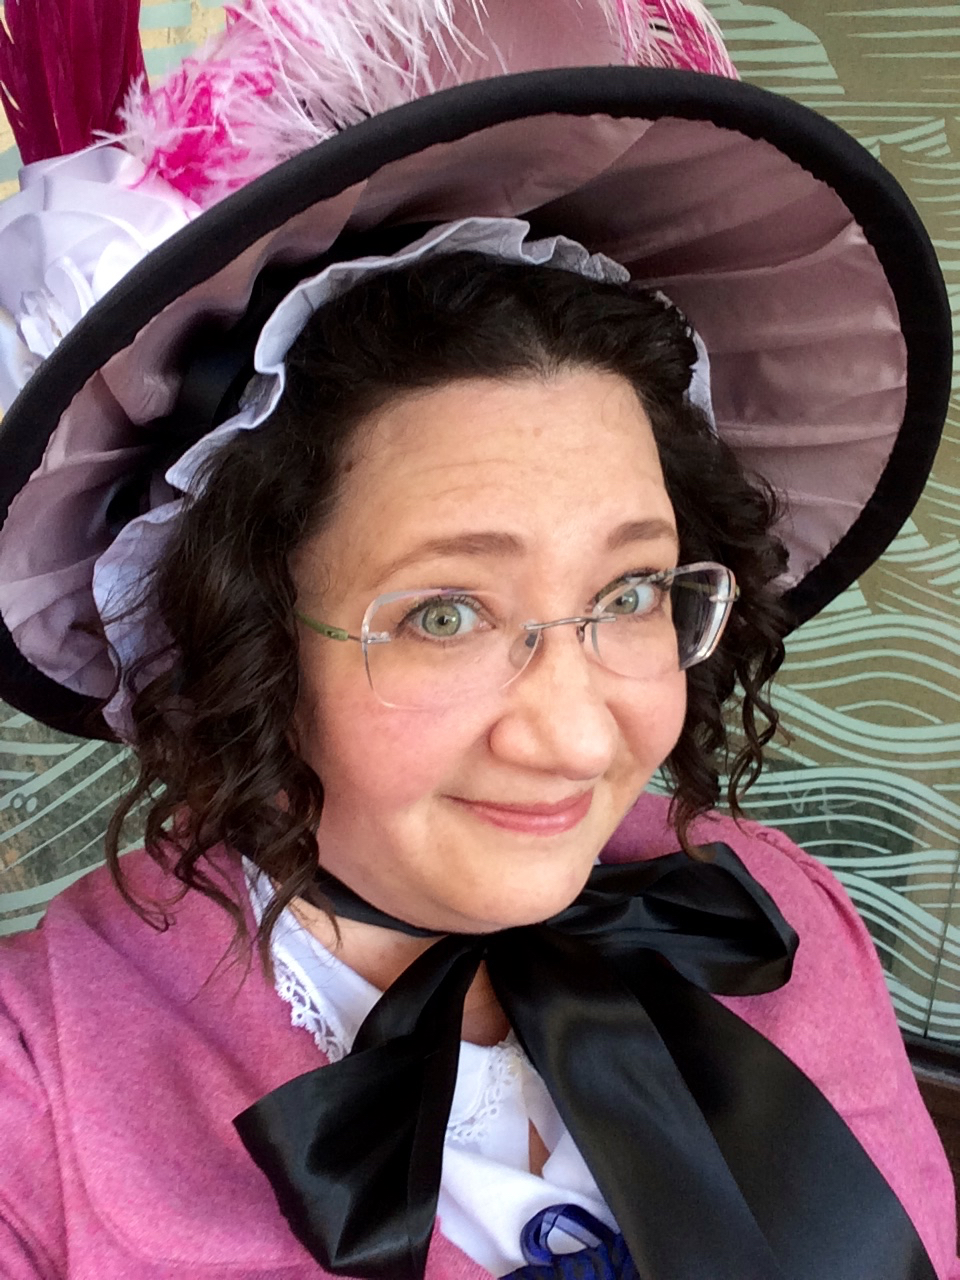
Oh the bonnet!! 

This is one of Lynn McMasters patterns for Regency bonnets. I used silk remnants, feathers and wide ribbon. I made the size large because I have a giant head. I would recommend some  hat making experience before making this one.


 Oh how I love the back pleats on a regency gown!


Waiting for Mr. Metro, who is much more reliable than Mr Wickham.


 Trying to do up my blasted pelisse!!


Some of the WRS ladies!

Oh! My! Goodness! Not a proper lady and never to be trusted around the Regiments.